
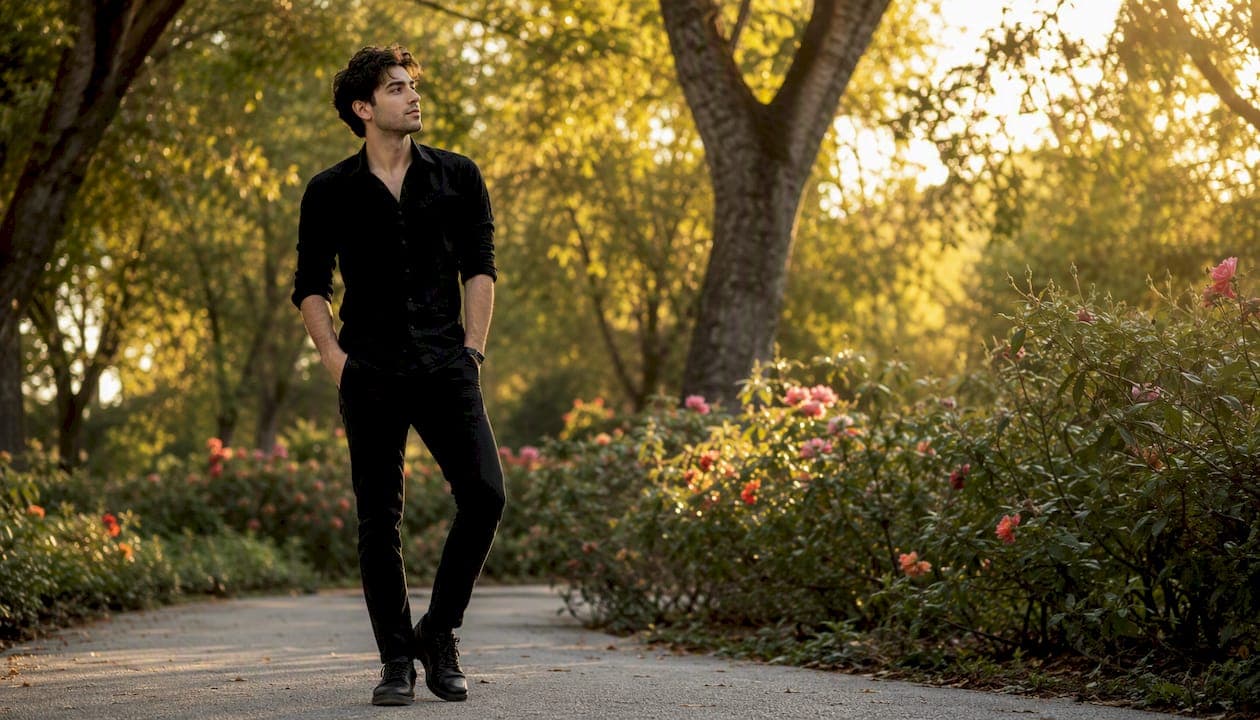
A handful of proven tweaks reliably make you look taller in photos: shoot from slightly below waist height, plant one foot forward with your weight on the back leg, wear a single-colour outfit, and nudge the perspective slider in an editor rather than stretching the whole image. Tools like the 0.5x wide lens, Adobe Lightroom's perspective tool, and an AI photo tester like DoubleMyMatches can confirm which version actually reads taller before you post it.
Try these before your next photo:
- Ask whoever's shooting to lower the camera to chest or waist height
- Put one foot forward, weight back, spine straight
- Wear a monochrome outfit with a high waist
- Switch to the 0.5x lens and stand centred in the frame
- Nudge the perspective slider slightly in an editing app, then check your face hasn't warped
Key Takeaways
Camera angle, posture, styling, and modest editing combine to reliably change how tall you look in a photo, and testing variants beats guessing every time.
| Point | Details |
|---|---|
| Shoot from below waist height | A slightly lower camera angle elongates the body more than any pose alone. |
| Use the one-leg-forward pose | Weight on the back leg and a straight spine create the longest visible leg line. |
| Dress in one colour, high-waisted | Monochrome outfits and pointed shoes build an unbroken vertical line. |
| Edit in small nudges only | Perspective sliders in Lightroom or Snapseed work; heavy stretching distorts faces. |
| Test before you post | Tools like DoubleMyMatches rank your photos privately so you know what actually works. |
Table of Contents
- How camera angle and lens choice add height to your photos
- Which poses make your legs and torso look longer?
- Do clothes and shoes actually change how tall you look?
- How does the background affect perceived height?
- Which apps subtly stretch a photo without distortion?
- How do you know which version actually looks taller?
- Your 10-second checklist before you post
- Why small, honest tweaks beat heavy retouching
- Want a second opinion before you post?
- Sources
How camera angle and lens choice add height to your photos
The fastest fix costs nothing: shoot from slightly below chest or waist level and keep yourself centred in the frame. A low camera angle elongates the body more reliably than any pose or outfit change, because it changes the perspective the lens sees, not just how you stand.
The
or wide-angle setting on most phones adds to the effect. A wider lens genuinely elongates legs when you're centred in the shot and your feet are visible, but stray off-centre or get too close and the same lens warps your face and limbs.Here's a quick phone setup that works:
- Rest the phone on a low surface, like a stool or stacked books, roughly waist height
- Set the self-timer so nobody has to crouch and hold it manually
- Step back until your feet sit near the bottom of the frame with room to spare
- Keep your whole body inside the shot, not cropped at the ankles
- Take several frames and check for warping around your face before picking one
Pro Tip: Distance matters as much as angle. Get too close with a wide lens and your nearest features balloon. A rough guide is standing at least an arm's length further back than feels natural, then zooming with your feet rather than the lens.
Which poses make your legs and torso look longer?
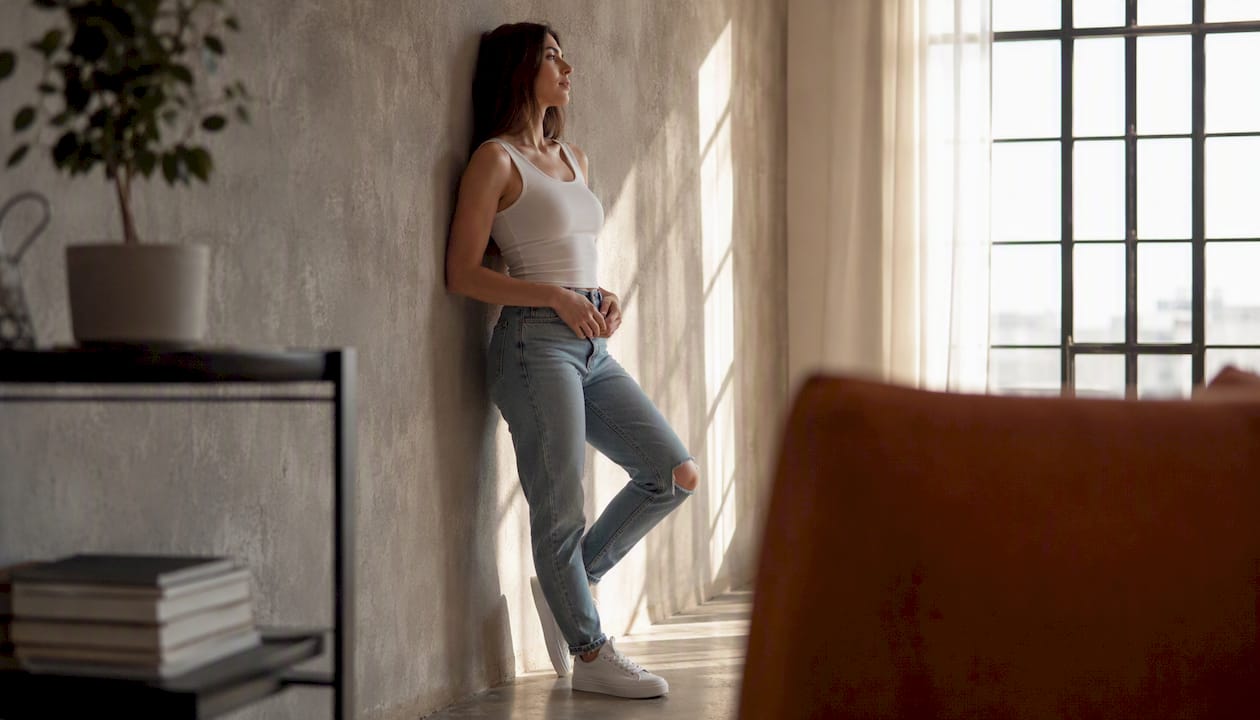
The single best pose for height: one leg forward, weight shifted onto the back leg, spine straight and shoulders relaxed. It's an industry-standard trick photographers use precisely because it creates a longer, more defined leg line without looking staged.
A few variations worth trying:
- Cross one leg slightly in front of the other for a slimmer stance
- Tilt your hips forward rather than square to the camera
- Point your toes when seated to stretch the visible leg line
- Angle your body slightly rather than facing the lens dead on
In group shots, standing marginally closer to the camera than everyone else narrows visible height gaps without anyone noticing you've done it. Steps, curbs, or a slight incline behind you work the same way.
Pro Tip: If you're the shortest in a group photo, take the outer position rather than the centre. It gives you more control over your own angle and distance to camera.
Do clothes and shoes actually change how tall you look?
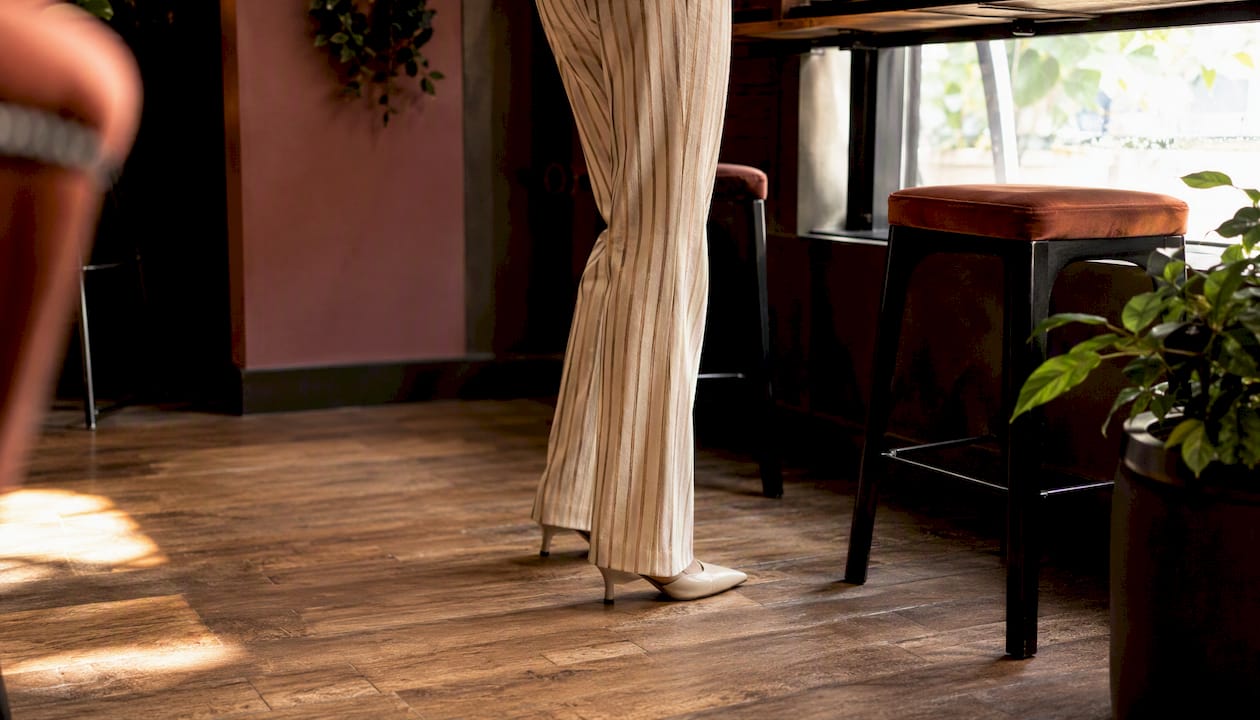
Yes, and the effect is bigger than most people expect. A single-tone outfit and high-waisted trousers create one unbroken vertical line, while pointed-toe shoes visibly stretch the leg further than most people credit to footwear alone.
Rules worth following before your next shoot:
- Stick to one colour top to bottom rather than contrasting pieces
- Choose high-waisted bottoms and tuck tops in
- Look for vertical seams, pinstripes, or zips instead of horizontal patterns
- Crop trousers slightly to expose your shoes and lengthen the leg line
- Avoid a wide belt or bold horizontal print at the waist, since it visually cuts your body in half
Heels add obvious lift, but a chunky boot with a slight platform or a heeled trainer does similar work while looking more natural in a casual shot.
Pro Tip: Skip statement bags, scarves, or chunky jewellery in full-body shots. Anything that draws the eye sideways interrupts the vertical line you've just built.
How does the background affect perceived height?
Vertical lines in the background make you look taller; horizontal ones shrink you. Standing beside a tall doorframe, a column, or a leggy plant gives the eye a visual ruler, and placing your subject next to architectural verticals is one of the most overlooked tricks in the photographer's toolkit.
Avoid squat furniture or low walls directly behind you, and leave a little clear space above your head rather than filling the frame edge to edge. Side lighting helps too. Shadows from an angled light source add contour and depth, while flat overhead light flattens everything, including you.
Perspective is the most overlooked tool: putting your subject next to a vertical architectural element makes them read taller against the whole scene, not just against themselves.
- Stand beside tall, narrow objects rather than wide or low ones
- Keep feet near the bottom of the frame, body centred
- Use side lighting where possible instead of harsh overhead light
Which apps subtly stretch a photo without distortion?
Small perspective or crop adjustments work far better than dramatic stretching, which almost always distorts faces and hands. The goal is a nudge, not a transformation.
Three apps cover most of what you need. LightX Height Editor offers a quick "taller" preset that you then refine manually for a natural finish. Adobe Lightroom (mobile) has a dedicated perspective tool built for exactly this kind of vertical adjustment. Snapseed combines a perspective tool with selective editing, useful for fine-tuning specific areas without touching the whole image.
The workflow itself is straightforward:
- Keep the original photo untouched and duplicate it before editing
- Choose a full-body shot where your feet are visible and there's space below them
- Open the perspective or crop tool and pull the vertical slider a small amount
- Use the healing or clone tool sparingly if the edit leaves gaps at the edges
- Export at full resolution and compare it side by side with the original
Editing only works well when there's extra canvas below your feet in the original shot. Without that space, any vertical stretch looks obviously artificial.
Pro Tip: After editing, zoom in on your face first. If your eyes or jawline look even slightly stretched, dial the slider back. A believable edit is one nobody notices.
How do you know which version actually looks taller?
Don't guess, test. A quick blind vote among friends, a same-day A/B post on social media, or an AI tool that ranks your photos will tell you which version reads taller and more natural, rather than which one you've simply stared at the longest.
- Show two versions side by side and ask which looks more confident, without mentioning height
- Post variants a day apart and compare engagement
- Run both through a dating photo analyser for an objective score
Read any app's privacy policy before uploading personal photos. DoubleMyMatches analyses images once, scores them, and discards them rather than storing or training on your photos.
Your 10-second checklist before you post
Run through this before uploading, especially for dating profiles where first impressions matter most:
- Camera at chest or waist height, not eye level or above
- Feet visible near the bottom of the frame
- One leg forward, weight on the back leg
- Monochrome outfit, high waist
- Vertical background element nearby
- Shoes visible, slight heel or platform if possible
- Small perspective edit only, no heavy stretching
- Face checked for distortion after editing
- Side lighting rather than flat overhead light
- Tested against an alternative version before posting
Why small, honest tweaks beat heavy retouching
Heavy retouching tends to backfire on dating apps because matches meet the real, three-dimensional you eventually. Modest tweaks, tested and kept subtle, hold up better and protect the confidence you're trying to build in the first place.
Want a second opinion before you post?
If you've tried the camera, pose, and styling tricks above and still aren't sure which shot works best, an AI photo tester gives you an objective answer in seconds rather than a guess based on how you feel looking at it.

DoubleMyMatches scores your photos on lighting, expression, and composition, then ranks them from strongest to weakest for Tinder, Hinge, or Bumble. It's the fastest way to settle an argument between two nearly identical shots without asking ten friends for their honest opinion. Every image is analysed once and then discarded, never stored or used to train the AI, so you get a private, immediate read on which version genuinely helps your profile. Upload your two best contenders to the AI Tinder profile review and see which one actually wins before you commit to a lineup.
Sources
- The science of looking taller in photos
- How to shoot and edit photos to make your subject look taller
- 7 ways to look taller in pictures, according to a petite editor
- How to make people look taller in photos