
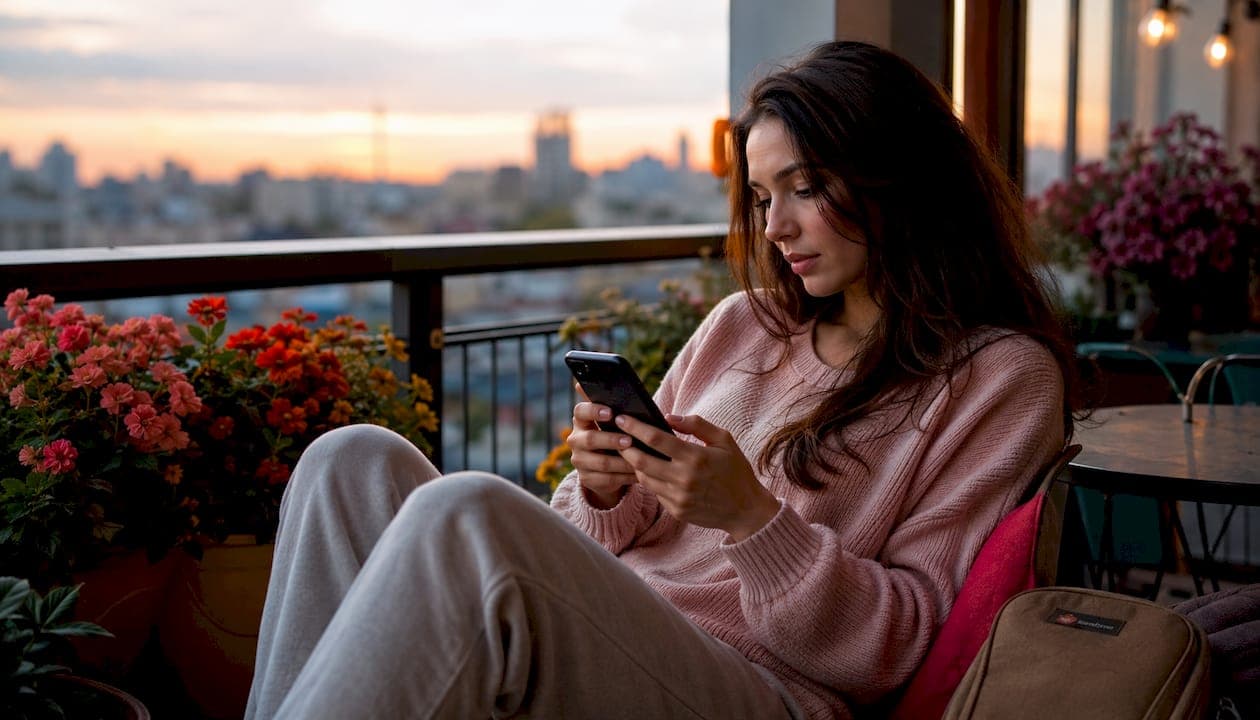
Lighting, resolution, composition, genuine expression, and variety are the five photo quality factors for dating that most directly move your match rate. Fix your lead photo's lighting first — that single swap can change how your face reads at thumbnail size before anyone even taps your profile. Kennesaw State research confirms that visuals dominate early swipe decisions, often before a bio is read. A Magnt analysis of high-performing profiles found that direct eye contact significantly increased right-swipe rates compared with looking away. And eye-tracking studies show your face is processed within a fraction of a second, so if it does not read clearly at thumbnail size, the swipe is already gone.
The good news: most photo problems are fixable without a professional shoot, new clothes, or expensive gear. Work through the sections below and you will know exactly what to change and in what order.
Table of Contents
- 1. How lighting shapes your photo quality for dating
- 2. Resolution and clarity — why a sharp face beats everything else
- 3. How to frame your lead photo and order the rest of your lineup
- 4. Expression and eye contact — the fastest way to look more approachable
- 5. Variety and storytelling — why six similar headshots hurt your profile
- 6. Common mistakes that cost you matches — and what to swap in now
- 7. Backgrounds and clothing — the subtle signals that shape first impressions
- 8. Camera settings and basic editing — a safe workflow that keeps photos natural
- 9. Professional photos versus candid shots — which is worth it?
- 10. How to evaluate and rank your photos — a testing method you can run yourself
- 11. The 60-second photo checklist — run through this right now
- 12. How cultural and demographic factors affect photo preferences
- 13. How clothing and grooming affect how attractive you look in photos
- 14. How colour and tone in photos affect the impression you make
- 15. Why photo recency matters more than you might think
- 16. Technical tips to make your photos look natural rather than staged
- Key takeaways
- The photo advice most people ignore
- Get objective photo rankings without the guesswork
- Sources and further reading
1. How lighting shapes your photo quality for dating
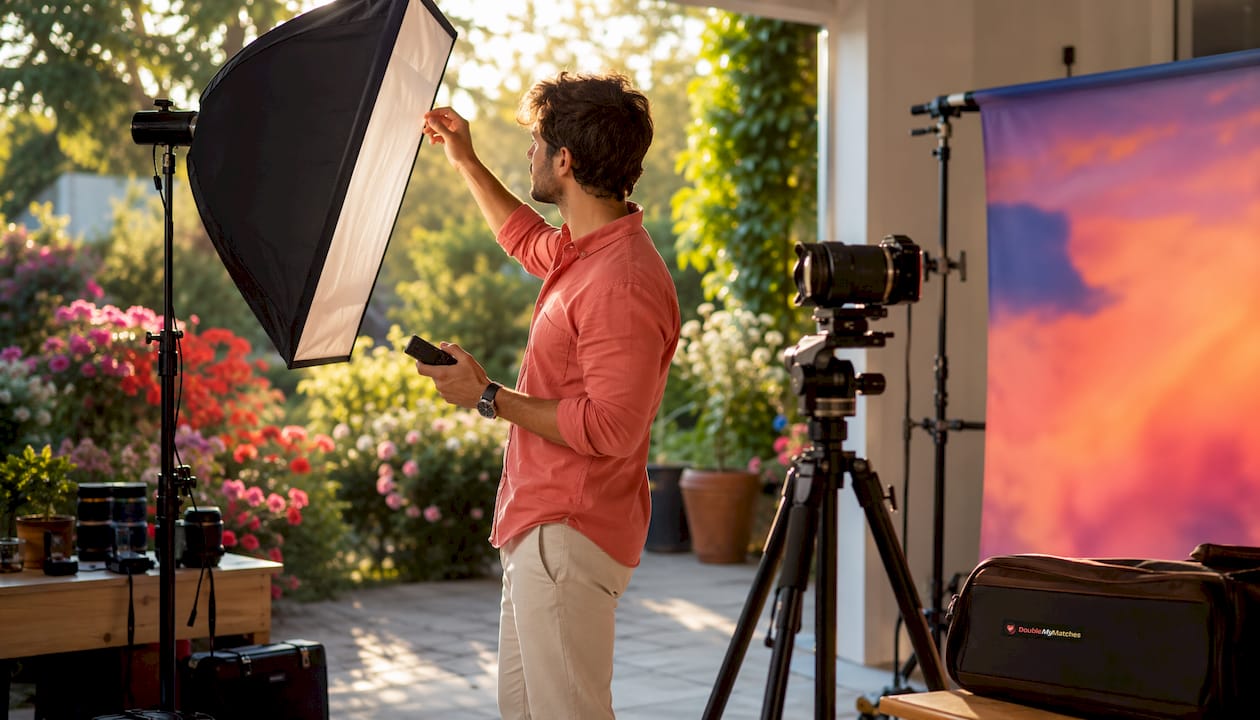
Front-facing, soft light is the single highest-return fix you can make. It sharpens your features, makes your eyes look awake, and removes the tired shadows that overhead bathroom lights create. Golden-hour window light — the first and last hour of sunlight — gives your face dimension without looking severe, and it reads as natural rather than staged on a dating app.
Here is how to get good light for free:
- Window light: Stand facing a large window with the light hitting your face directly. Overcast days are ideal because the cloud cover acts as a natural diffuser.
- Open shade: Step into the shade of a building or tree on a sunny day. The sky becomes your light source, giving even, shadow-free coverage.
- Golden hour: Shoot outdoors in the hour after sunrise or before sunset. The warm, low-angle light is flattering on almost every skin tone.
- Quick reflector: Hold a white piece of card or a sheet of paper below your chin to bounce light back up and fill any shadows under your eyes.
Avoid harsh midday sun, overhead ceiling lights, and flash pointed directly at your face. All three flatten features and create unflattering shadows. If you are shooting indoors with artificial light, place the light source at eye level and slightly off-centre rather than directly above your head.
Pro Tip: Test your lead photo by shrinking it to thumbnail size on your phone screen. If your face disappears into shadow or the image looks muddy, the lighting needs fixing before anything else.
2. Resolution and clarity — why a sharp face beats everything else
A blurry photo signals low effort, full stop. At the small sizes dating apps display lead photos, even moderate blur makes a face unreadable, and face-first fixation happens in under 300 milliseconds. You cannot recover from that.
These quick settings fixes cost nothing:
- Use the main rear camera. Front cameras on most phones capture at lower resolution. The rear camera produces sharper, more detailed images.
- Disable digital zoom. Moving closer to your subject beats zooming in every time. Digital zoom degrades quality visibly.
- Enable the highest-quality capture setting. Check your camera app's settings and switch to the highest resolution or RAW option if available.
- Keep the phone steady. Rest your elbows on a surface, use a tripod, or ask a friend to hold the phone. Motion blur is the most common clarity killer.
- Avoid beauty mode. Most phone cameras have a skin-smoothing or beauty filter built in. Turn it off. It softens facial detail and can make photos look artificially processed.
For editing, crop before you export and keep compression to a minimum. Adjust brightness and contrast lightly, but avoid heavy noise reduction or over-sharpening, both of which introduce artefacts that look worse than the original. When uploading, use the highest-quality file the app accepts.
Thumbnail clarity check: shrink the image to roughly 100 x 100 pixels on screen. Your eyes should be clearly visible, your expression readable, and the background not competing for attention.
3. How to frame your lead photo and order the rest of your lineup
Your lead photo should be a clear close-up with your face occupying a substantial portion of the frame. That is not a stylistic preference; it is a practical one. At thumbnail size, a face that fills the frame reads immediately. A full-body shot used as a lead photo often reduces your face to a small, indistinct shape.
Recommended photo order for your lineup:
- Lead portrait: Head-and-shoulders close-up, soft front light, direct eye contact, genuine expression.
- Social or activity shot: You with friends, at an event, or doing something active. Signals social confidence and approachability.
- Hobby or travel photo: A context shot that shows an interest or a place. Gives conversation starters and signals personality.
- Full-body photo: One clear full-length shot. Adds honesty and completeness to your profile.
- Candid or relaxed shot: A natural, unposed moment. Balances the polished lead photo and makes the set feel real.
A few framing rules worth keeping:
- Leave a small amount of negative space above your head so the crop does not feel claustrophobic.
- Shoot at eye level or very slightly above. Angles from below are rarely flattering.
- Mid-length shots (waist up) work well for the second or third slot when they show context, such as standing at a landmark or holding a coffee.
Full-body photos belong in the lineup but not in the lead slot. They add story value and signal honesty, but they cannot carry the first impression on their own.
4. Expression and eye contact — the fastest way to look more approachable
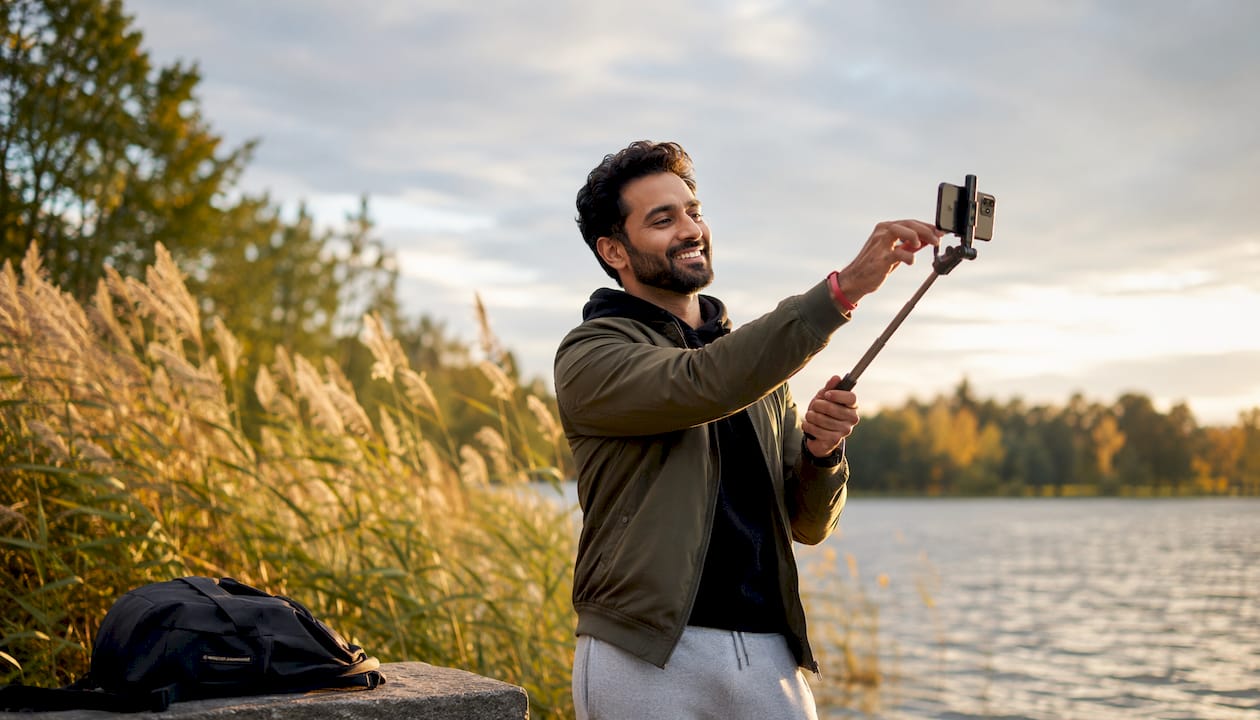
Direct eye contact and a genuine smile are the two expression factors with the clearest impact on right-swipe rates. The Magnt analysis found that direct eye contact significantly increased right-swipe rates compared with looking away from the camera. Looking into the lens creates the impression of eye contact with the viewer, which reads as confidence and warmth.
Getting a genuine expression is harder than it sounds. Posed smiles look posed. Here is how to get a real one:
- React to something funny. Ask your photographer to say something absurd right before they shoot. The half-second of genuine reaction is usually the best frame.
- Micro-action technique: Just before the shot, take a slow breath out and let your face relax completely, then think of someone you like. The resulting expression tends to be warm and natural.
- Shoot in bursts. Take ten frames in quick succession. The middle frames, after the pose has relaxed, are usually the most authentic.
- Check the eyes. A genuine smile, sometimes called a Duchenne smile, reaches the eyes and creates small creases at the outer corners. A posed smile stays in the mouth only.
One cultural note: direct, wide smiles read as warm and approachable in most Western contexts, including the UK. In some cultural backgrounds, a more restrained expression is equally positive. Avoid prescribing a single expression style universally; what matters is that the expression looks genuine rather than forced.
5. Variety and storytelling — why six similar headshots hurt your profile
Six photos of you against a white wall, all taken the same week, tell a viewer almost nothing about your life. Variety matters because people infer lifestyle fit from context as much as from appearance. A Magnt sample of top-performing profiles found that mixed contexts, social, travel, activity, and hobby shots, converted better than homogeneous sets.
The Goldilocks principle of self-disclosure applies to photos as much as to written bios: moderate variety signals investment and curiosity without overexposing every detail of your life.
A strong set balances these elements:
- One polished lead portrait (face, good light, direct eye contact)
- One social shot with other people (signals you have friends and are comfortable in company)
- One activity or hobby photo (sport, cooking, music, travel — something that starts a conversation)
- One candid or relaxed moment (a laugh, a walk, a coffee — unposed and human)
- One full-body photo in a natural setting
Pro Tip: Include at least one photo where you are clearly doing something rather than posing for the camera. Candid activity shots humanise a profile and reduce the "overly curated" signal that can make viewers feel they are looking at a marketing brochure rather than a real person.
Keep the photos consistent in recency. A mix of shots from the last one to two years works well. Avoid including a photo that is noticeably older than the rest, as the visual inconsistency reads as deliberate concealment.
6. Common mistakes that cost you matches — and what to swap in now
Most profile photo problems fall into a short list of repeating errors. Here is what to fix and what to replace each mistake with:
- Blurry lead photo → Swap in the sharpest, best-lit close-up you have, even if it feels less flattering. Clarity beats a slightly better angle every time.
- Sunglasses in the lead shot → Remove them. Hidden eyes block the eye-contact signal that drives approachability.
- Group photo as lead → Replace with a solo portrait. Viewers should not have to guess which person you are.
- Heavy filters or obvious retouching → Use the unfiltered original. Over-editing reduces trust and can backfire by producing lower engagement when the editing is noticeable.
- Car selfie → Shoot by a window instead. Car interiors are dark, the angle is awkward, and the background adds nothing.
- Outdated photo → Use a recent one. A photo that is more than two or three years old sets up a mismatch at a first meeting, which research on photographic accuracy identifies as one of the most common sources of perceived deception.
- Mirror selfie with phone blocking your face → Ask a friend to take the photo or use a tripod with a timer.
The fastest single swap: if your current lead photo is a group shot, a blurry selfie, or a photo with sunglasses, replace it today with any clear, well-lit solo close-up. That one change removes the most common first-impression killers in under a minute.
7. Backgrounds and clothing — the subtle signals that shape first impressions
An uncluttered background that adds context beats a busy interior every time. A messy bedroom, a car interior, or a blank white wall all send signals you probably do not intend. A park, a coffee-shop window, a travel location, or a clean urban setting adds visual interest without competing with your face.
Background choices that work:
- Natural settings (parks, beaches, open streets) feel relaxed and approachable
- Recognisable locations (a landmark, a café, a sports venue) add personality and conversation starters
- Clean, simple interiors with good light work well for indoor shots
Background choices to avoid:
- Cluttered rooms or unmade beds
- Car interiors (dark, cramped, and contextually flat)
- Busy patterned wallpaper that competes with your face at thumbnail size
For clothing, fit matters more than brand. Well-fitting clothes read better at small sizes than expensive but ill-fitting ones. Muted, solid colours tend to keep the focus on your face rather than your outfit. Avoid very bold patterns or logos that dominate the frame. One outfit that fits well and suits the context of the photo is all you need; you do not have to dress up for every shot, but avoid anything that looks visibly dishevelled.
8. Camera settings and basic editing — a safe workflow that keeps photos natural
Capture at the highest native quality your phone allows, then edit only brightness, contrast, and colour balance. That is the whole workflow. Anything beyond those three adjustments risks making the photo look processed, and Frontiers in Communication research by Dai et al. found that noticeable beautification can reduce perceived trust, particularly for men.
Capture checklist:
- Switch to the main rear camera and set it to the highest resolution available.
- Enable the grid overlay to help with framing and keep the horizon level.
- Turn off HDR if it is producing unnatural-looking skies or skin tones; use it only in high-contrast scenes.
- Disable beauty mode or skin-smoothing filters entirely.
- Use a tripod or ask a friend to hold the phone to eliminate motion blur.
Editing dos and don'ts:
- Do: adjust brightness so the face is well-exposed, lift shadows slightly if the eyes are dark, and correct any colour cast (orange indoor light, blue shade).
- Do not: alter facial features, apply heavy skin smoothing, use AI face-reshaping tools, or apply strong vignettes that darken the edges of the frame.
- Do not: over-sharpen. It creates a crunchy, artificial texture that reads as heavily edited.
Export at the highest quality the app accepts. Compressing to a small file size before uploading loses detail that the app's own compression will then degrade further.
9. Professional photos versus candid shots — which is worth it?
A well-shot candid can outperform a poor studio photo. Professional sessions reduce technical errors, but a stiff, over-lit studio portrait with a forced smile often performs worse than a natural, friend-shot photo taken in good window light. The photography principle that light, angle, and expression matter more than equipment holds here: fix those three and the camera matters far less.
Pros and cons at a glance:
- Professional photographer: consistent technical quality, varied settings, genuine expression coaching. The downside is cost and the risk of photos that look polished but feel impersonal.
- Friend-shot photos: more natural expressions, flexible locations, zero cost. The risk is inconsistent technical quality if your friend is not comfortable with a camera.
- Self-timer or tripod: full control over timing and location, but harder to get genuine expressions when you are also managing the shot.
If you do book a professional, brief them specifically: ask for varied contexts (indoors and outdoors), natural expressions over posed smiles, and a mix of close-up, mid-length, and full-body shots. A photographer who shoots only formal portraits in a studio will not produce the candid-feeling variety that performs best on dating apps.
10. How to evaluate and rank your photos — a testing method you can run yourself
Use a simple blind-ranking workflow to remove your own bias from photo selection. Self-selection bias is one of the most common reasons people choose their worst photos: you tend to pick the one where you remember feeling good, not the one that reads best to a stranger.
Step-by-step testing method:
- Collect your candidates. Gather six to ten photos that meet the basic criteria: clear face, good light, recent.
- Run a 250ms thumbnail test. Show each photo to a friend for roughly a quarter of a second, then ask what they noticed first. If the answer is not your face and expression, the photo is not working at thumbnail size. This method is recommended across photographer and UX guides as a quick usability check.
- Blind preference ranking. Share the photos with two or three friends without telling them which is your favourite. Ask them to rank the top three. The photo that consistently ranks first is your lead.
- Track simple metrics. If you are willing to run an A/B test on the app itself, swap your lead photo and note any change in match rate over a week. Keep the winner.
- Privacy note: run the blind test by sharing photos privately via a direct message or a temporary shared album rather than posting them publicly. You do not need to upload anything to a public platform to get useful feedback.
Pro Tip: Your own favourite photo is rarely the one that performs best. The photo where you feel slightly less photogenic but your face is clear, well-lit, and your expression is warm is almost always the stronger choice.
A small sample of three to five raters is enough to identify clear winners and obvious rejects. You do not need statistical significance; you need to know which photo strangers respond to most positively at first glance.
11. The 60-second photo checklist — run through this right now
Your lead photo passes if it clears every item on this list. Work through it now and swap anything that fails.
- Face visible at thumbnail size — shrink the image on your phone screen; your face should fill the frame clearly.
- Eyes looking at the camera — no looking away, no sunglasses, no hat brim casting shadow over the eyes.
- Soft, front-facing light — no harsh shadows under the eyes or nose; no blown-out highlights on the forehead.
- Genuine expression — a relaxed, warm smile or a natural look; not a forced grin or a blank stare.
- Recent photo — taken within the last one to two years and consistent with how you look today.
- No group shot — you are the only person in the frame, or clearly the subject if others appear.
- No heavy filter — the photo looks like you, not a smoothed or colour-shifted version of you.
- Clean or contextual background — nothing cluttered or distracting behind you.
For a more detailed version of this process, the checklist for picking dating photos covers additional selection criteria worth working through before you finalise your lineup.
12. How cultural and demographic factors affect photo preferences
Photo preferences are not universal. What reads as confident and warm in one cultural context can read differently in another, and demographic factors including age, gender, and the platform you are using all shape what works.
In the UK dating market, direct eye contact and a relaxed smile are broadly positive signals across most demographics. Younger audiences on apps like Tinder tend to respond well to casual, candid-feeling photos. Users on Hinge, which skews slightly older and more relationship-focused, often respond better to photos that show context and personality alongside a clear face.
Gender differences in photo perception are well-documented. Stanford research on photographic accuracy found that female profiles tend to contain more discrepancies between profile photos and current appearance, partly because of greater social pressure to present physical attractiveness. The same research found that discrepancies related to weight, hair, and age were the most likely to be perceived as deceptive across genders.
The practical takeaway: use photos that reflect how you actually look now, and calibrate the formality and context of your shots to the platform and the audience you are trying to reach.
13. How clothing and grooming affect how attractive you look in photos
Clothing and grooming are not superficial concerns. They directly affect how your face and body read in a photo, and they signal social awareness and self-presentation to anyone viewing your profile.
Fit is the most important clothing variable. A well-fitting shirt or jacket frames the shoulders and draws attention upward toward the face. Ill-fitting clothes, whether too loose or too tight, draw attention to the fit rather than to you. At thumbnail size, a clean, well-fitted outfit in a solid or subtly patterned colour keeps the focus where it belongs.
Grooming consistency matters across your photo set. If your hair, beard, or general presentation varies dramatically between photos, the set looks like it was assembled from different periods of your life rather than representing who you are now. Keep the grooming in your photos consistent with how you look day-to-day.
A few practical points:
- Avoid very bold logos or graphic prints that dominate the frame at small sizes.
- Dress appropriately for the context of each photo. A smart casual outfit works for a lead portrait; activewear makes sense for a sport or activity shot.
- Clean, well-maintained clothing reads better than expensive but creased or worn items.
14. How colour and tone in photos affect the impression you make
Colour and tone shape mood before a viewer consciously registers them. Warm tones, amber, soft gold, and natural daylight, tend to read as approachable and friendly. Cool, desaturated tones can look sophisticated but sometimes read as cold or distant in a dating context.
Highly saturated or heavily filtered photos, particularly those with strong orange or teal colour grading, signal heavy editing. Frontiers in Communication research found that noticeable image enhancement can reduce perceived trust, which is the opposite of what you want in a lead photo.
Natural colour balance, meaning the photo looks the way the scene actually looked, is the safest choice. If you edit colour at all, aim to correct rather than stylise: remove the orange cast from indoor lighting, lift the blue cast from shade, and keep skin tones looking natural. A photo that looks like you on a good day, rather than a filtered version of you, builds the kind of first impression that holds up when you meet someone in person.
15. Why photo recency matters more than you might think
A photo that is three or more years old is a liability, not an asset. Even if it is technically your best-ever photo, it sets up a mismatch between expectation and reality at a first meeting. Research on online dating photographs found that discrepancies related to age and weight were among the most likely to be judged as deceptive by independent viewers.
The standard to aim for: every photo in your lineup should represent how you look today, or within the last one to two years. If your hair, weight, or general appearance has changed significantly since a photo was taken, retire that photo regardless of how well it performed in the past.
Recency also applies to context. A photo taken at a venue or event that clearly dates it, a festival from five years ago, a holiday outfit from a previous decade, can make the whole profile feel out of date. Keep the visual cues in your photos consistent with your current life.
16. Technical tips to make your photos look natural rather than staged
The most common reason a photo looks staged is that the subject is visibly waiting to be photographed. Genuine-looking photos usually come from moments of transition: just after a laugh, mid-conversation, or while doing something rather than standing still.
A few techniques that help:
- Shoot in motion. Walk toward the camera, turn around, or pick something up. Movement produces more natural body language than standing still.
- Use burst mode. Take ten to twenty frames in quick succession during a natural moment. The best frame is rarely the one where both the subject and photographer were ready.
- Avoid symmetrical poses. Perfectly centred, symmetrical standing poses read as formal and stiff. A slight turn of the shoulders or a relaxed lean reads as more natural.
- Check the hands. Awkward hands are one of the clearest signs of a posed photo. Give them something to do: hold a drink, rest on a surface, or keep them in pockets.
- Shoot more than you think you need. Out of twenty frames, two or three will look genuinely natural. That ratio is normal, not a sign that something is wrong.
Authenticity in photos is not about looking effortless; it is about capturing a moment that feels real. A reverse image search can also help you verify that photos you receive from matches are genuine, which is a useful reminder that authenticity matters on both sides of a swipe.
Key takeaways
Lighting, clarity, and genuine expression are the three photo quality factors for dating that deliver the highest return, and fixing your lead photo on all three is the single most effective step you can take today.
| Point | Details |
|---|---|
| Fix lighting first | Soft, front-facing or golden-hour light is the highest-return change; it sharpens features and makes your face readable at thumbnail size. |
| Clarity over flattery | Use the rear camera at full resolution, disable beauty mode, and keep editing to brightness and colour balance only. |
| Expression drives right-swipes | Direct eye contact and a genuine smile significantly increase right-swipe rates in the Magnt analysis of high-performing profiles. |
| Variety signals lifestyle fit | A mix of portrait, social, activity, and candid shots converts better than six similar headshots. |
| DoubleMyMatches ranks your photos | The AI photo analyser scores lighting, expression, and composition and tells you which photo to lead with, without storing your images. |
The photo advice most people ignore
The most overlooked truth about dating profile photos is that the photo you like least is often the one that performs best. You evaluate your own photos based on memory, feeling, and self-image. A stranger evaluates them in under a second based on clarity, warmth, and whether your face reads immediately at thumbnail size. Those are completely different criteria.
Most advice focuses on what to add: better lighting, more variety, a professional shoot. What actually moves the needle faster is removing the things that actively hurt you. A blurry lead photo, a group shot where you are not obvious, sunglasses that hide your eyes, a filter that makes you look like a different person. These are not minor issues. They are the reason a profile with a genuinely attractive person gets fewer matches than it should.
The other thing worth saying plainly: authenticity is not a soft, feel-good concept here. It is a practical strategy. Research on photographic accuracy consistently shows that photos which diverge significantly from current appearance are perceived as deceptive, and that perception damages trust before a first conversation even starts. A clear, recent, well-lit photo of how you actually look today will outperform a heavily edited photo of how you looked three years ago, every time.
Get objective photo rankings without the guesswork
If you want faster, evidence-driven feedback on your photos, DoubleMyMatches gives you exactly that. Instead of asking friends who will be polite rather than honest, or guessing which photo to lead with, you get a ranked score for each image based on lighting, expression, and composition — the same factors covered throughout this article.
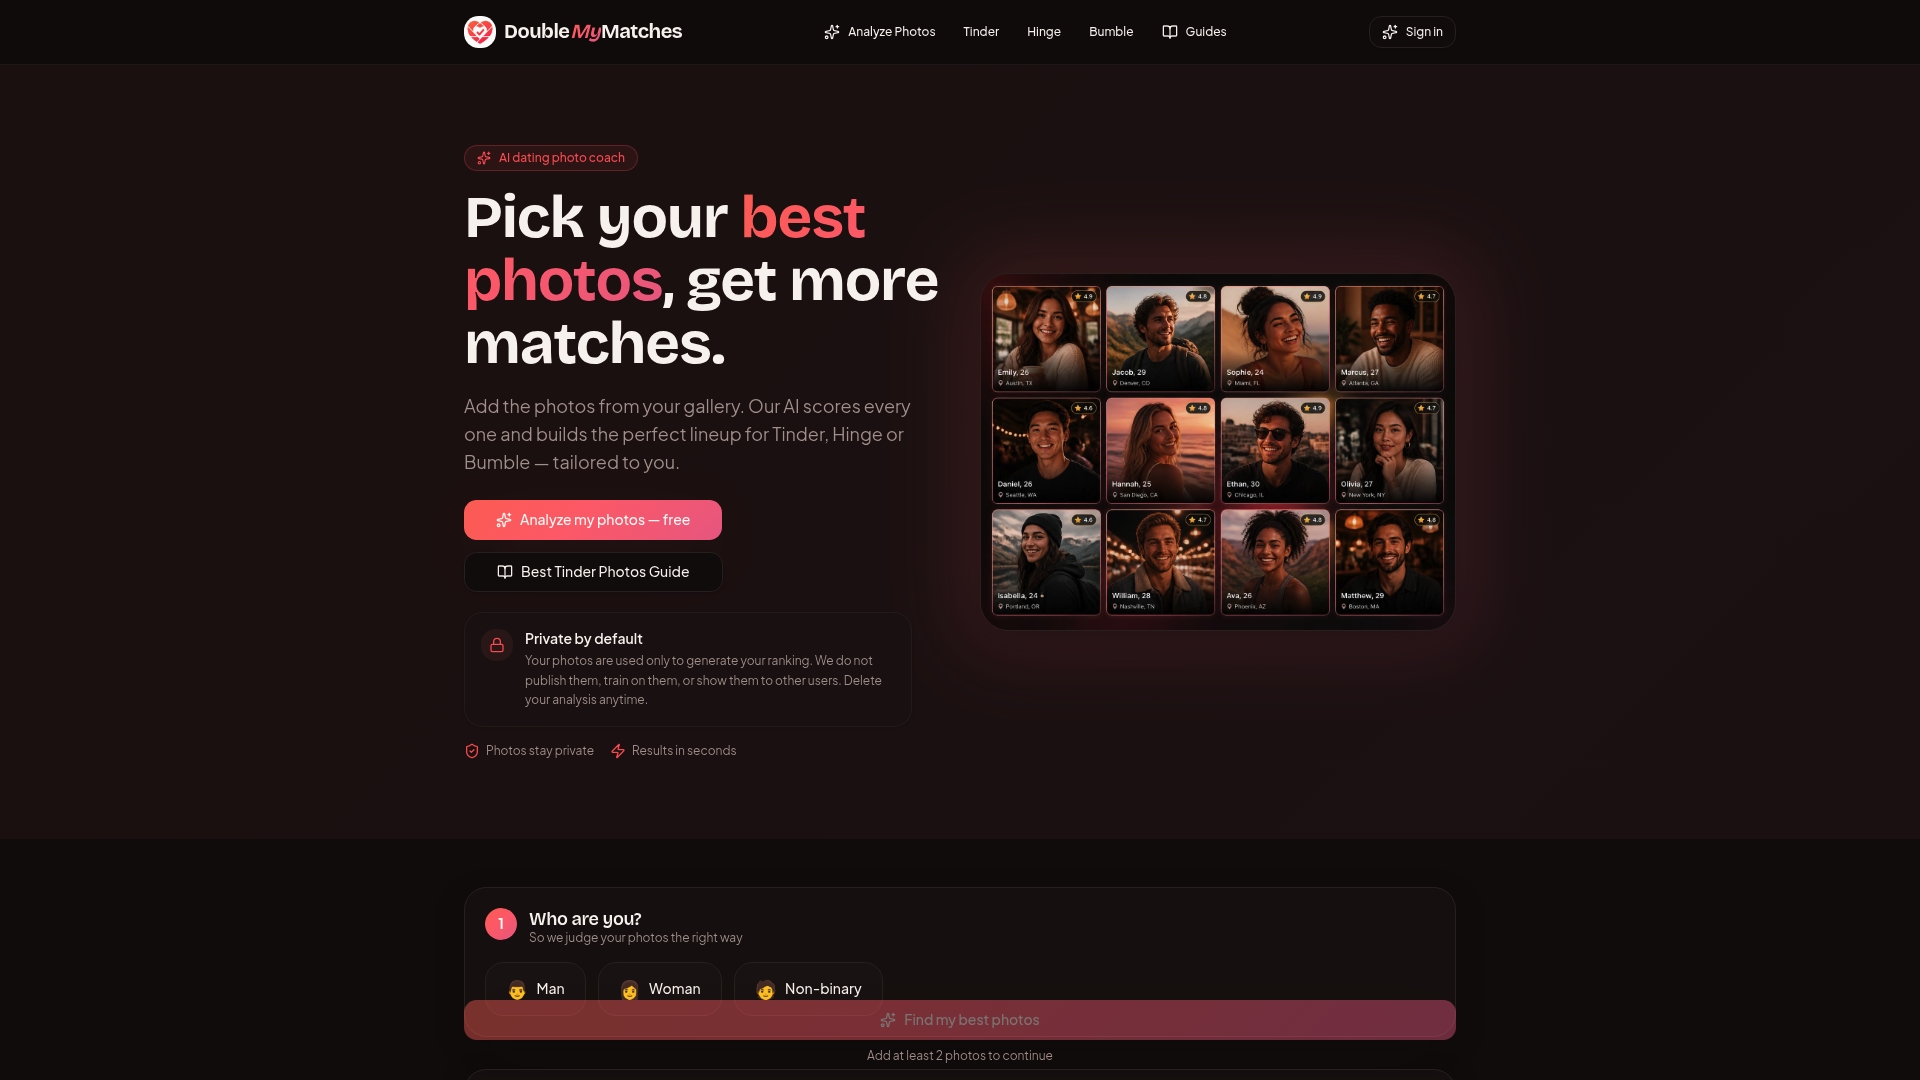
The AI dating photo analyser scores your photos and tells you which to lead with, which to move to a supporting slot, and which to drop. The whole process takes a few minutes. Your photos are analysed and then discarded; they are never published, shared, or used to train the AI. If you want to test a single image before committing to a full lineup review, the profile picture tester lets you do exactly that.
Upload your current lineup at DoubleMyMatches and get your rankings today.
Sources and further reading
The advice in this article draws on the following research and practical guides:
- Kennesaw State research on dating-app success — supports the primacy of visuals in swipe decisions and the impact of expression on trust.
- Magnt analysis of high-performing dating photos — source for the eye-contact and variety findings cited in the expression and storytelling sections.
- Frontiers in Communication, Dai et al. — research on media richness, image enhancement, and trust perception across genders.
- Stanford Social Media Lab — Hancock et al., "Putting Your Best Face Forward" — foundational research on photographic accuracy and perceived deception in online dating profiles.
- PsyPost — Goldilocks rule of online dating profiles — research on self-disclosure and its effect on perceived relationship intent.
- Eye-tracking and thumbnail test guidance — practical methodology for the 250ms face-recognition test used in the evaluation section.
- BetterDatingAI — best lighting for selfies — practical lighting setups including golden hour, window light, and reflector use.
- PhotographyShark — how to take good dating profile pictures — photographer's guide to light, angle, and expression as the three core portrait variables.