
Here's the one thing to do right now: crop your photo into a square (1:1) working canvas first, then preview it as Tinder's swipe card would show it before you upload anything. Most bad crops happen because people upload a rectangular photo and let Tinder's algorithm guess where the face is. Take that decision away from the app.
Your immediate action, in under a minute:
- Open any photo editor (your phone's built-in editor works fine)
- Set the canvas to 1:1, either 640×640 or 1080×1080 pixels
- Centre your face and shoulders in the frame
- Export as a high-quality JPG
- Upload it, then check the in-app preview before you save
Tinder's own help pages back this up: the guidance is a clear, well-lit, unobscured full face. Get the square crop right first, and everything downstream gets easier.
Key Takeaways
Cropping to a square working canvas before uploading, then previewing Tinder's portrait display, is the single most reliable fix for unwanted zooming and blurry profile photos.
| Point | Details |
|---|---|
| Crop square first | Set a 1:1 canvas (640×640 or 1080×1080) before Tinder ever touches your photo. |
| Preview the portrait crop | Export a 4:5 version to check how Tinder's swipe card might zoom into your face. |
| Export at 85 to 92% JPG quality | This range avoids visible compression blur while keeping file size manageable. |
| Fix framing, not just files | Eyes in the upper third and a face filling 60 to 70% of the frame survive crops better. |
| Get a second opinion | An AI photo check can catch lighting or expression issues a good crop can't fix. |
Table of Contents
- Best profile picture size for Tinder: sizes and aspect ratios that actually work
- How to crop Tinder photos step by step
- Why does Tinder zoom or crop my photo?
- What tools should you use to crop and resize photos privately?
- What composition rules actually survive Tinder's crop?
- Pre-upload checklist for Tinder photos
- Why let an AI check your crop before you upload it?
- What the fuss over Tinder cropping actually gets wrong
- Sources
Best profile picture size for Tinder: sizes and aspect ratios that actually work
You don't need to guess at pixel dimensions. Two ratios matter, and they solve two different problems.
Square working canvas (1:1) is your foundation file. Use 640×640 pixels as the bare minimum, or 1080×1080 pixels if you want a genuinely sharp working copy you can reuse across Tinder, Hinge, or Bumble. This is the crop you control before any app touches your photo.
Portrait export (4:5 or similar) is your reality check. Export a second version at 800×1000 pixels or 1080×1350 pixels to preview how Tinder's card layout might zoom into a taller tile. If your face looks too tight or too far off centre in that portrait crop, you'll know before a match ever sees it, not after.
A few export details that quietly wreck good photos:
- Save as JPG at 85 to 92% quality — high enough to avoid visible compression blur, small enough to upload cleanly
- Keep your colour profile in sRGB, which is what most apps and screens expect
- Avoid re-saving the same file repeatedly; each save adds another layer of compression
Tinder's guidance is consistent on one point: your face needs to be clear, well lit, and unobstructed. Pixel-perfect sizing means nothing if the underlying shot is dark or blurry to begin with.
How to crop Tinder photos step by step
Follow this order and you'll catch problems before they reach your live profile.
-
Start with your best source file. Use the original photo from your camera roll, not a screenshot, a downloaded copy from social media, or anything already compressed once. Quality lost at this stage can't be recovered later.
-
Set a 1:1 working canvas. Open your editor and crop to square first. Position the image so your eyes sit roughly in the upper third of the frame, not dead centre and not near the bottom edge.
-
Create a portrait export to test the card view. Export a second 4:5 version from the same working file. This shows you roughly how a taller display tile will read. If you need to add space around the subject, use an expand or pad tool rather than stretching or zooming in further, which is exactly what causes the blur you're trying to avoid.
-
Batch resize the rest of your set. Once your main photo looks right, resize your other photos to a consistent width. 1080 pixels works well, and export each at 85 to 92% JPG quality. Consistency across your set matters more than most people realise.
-
Upload, then check the preview. Tinder lets you preview edits before saving them. Use that screen. If the crop looks off, go back and adjust your working file rather than trying to fix it inside the app's limited tools.
Pro Tip: If Tinder's preview still shows an awkward crop after you've done all this, the problem usually isn't your editing, it's your face position in the source photo. Retake the shot with your eyes higher in the frame rather than fighting the algorithm with more edits.
Why does Tinder zoom or crop my photo?
Most zoom complaints trace back to one of four fixable causes.
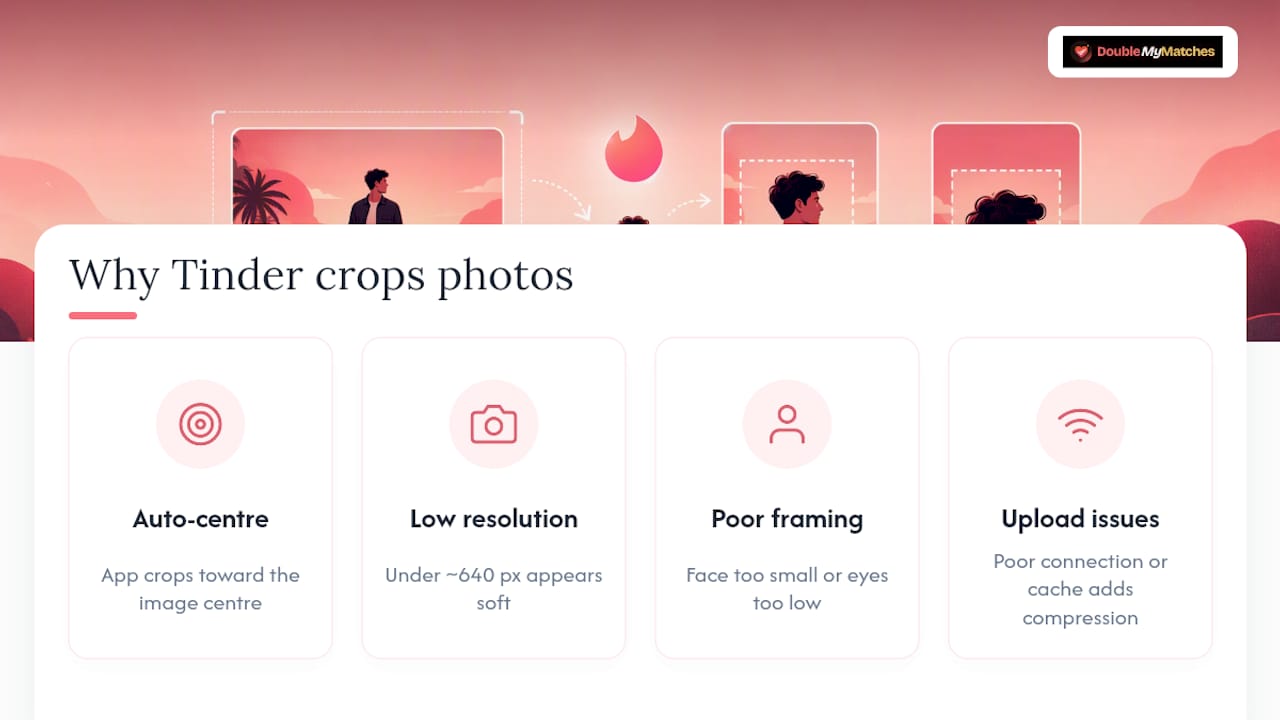
Auto-centre cropping. Tinder's card layout often crops toward the centre of an image, which punishes off-centre faces. The fix is the square-plus-portrait workflow above: control the centre yourself before the app does.
Low resolution or heavy compression. A source image under roughly 640 pixels wide will look soft the moment it's displayed at profile size.
Poor framing. Eyes positioned too low, or a face that's too small in the frame, gets worse once cropped further. Recompose using the rule of thirds and increase how much of the frame your face actually fills.
Upload conditions. Uploading on a poor connection or with an outdated app cache occasionally forces extra compression on Tinder's end. Upload on Wi-Fi where possible, clear your app cache if photos consistently look degraded, and re-export a smaller file if a large one gets rejected.
Community discussion on r/Tinder confirms this is a widespread frustration, and the fixes users land on repeatedly are square working canvases and pre-upload resizing, not app settings buried in a menu.
Sometimes the answer isn't editing at all. If your source photo is genuinely low resolution, taken in poor light, or the composition can't be salvaged by cropping, retake it. No amount of export tweaking fixes a photo that was never sharp to begin with.
What tools should you use to crop and resize photos privately?
You don't need professional software. You need the right type of tool for the job, and ideally one that doesn't send your photo to a stranger's server.
Browser-based croppers that process images client-side are worth prioritising. Tools built on technology like HTML5 Canvas can crop and resize entirely on your device, meaning the photo never actually uploads anywhere before you download the edited version. For dating photos specifically, that's a meaningful privacy advantage over tools that route your image through a third-party server.
Mobile apps and batch editors handle the repetitive part well. If you're prepping five or six photos for your profile, look for a tool that lets you resize the whole batch at once rather than editing each photo individually. Some resizers, including preset-based tools built for specific apps, let you switch between Tinder, Hinge, and Bumble dimensions and export multiple versions from one source file.
A few practical notes:
- Preview both the square and portrait crop before exporting, most decent tools let you toggle between them
- Use expand or pad features sparingly. Padding out a photo to fit a ratio can look unnatural if it stretches the background awkwardly
- Before trusting a third-party tool with a photo, check whether it claims local processing, what permissions it asks for, and whether it explicitly states it doesn't upload your image to a server
What composition rules actually survive Tinder's crop?
Good composition isn't decoration, it's insurance against the app cropping something important out of frame.
Put your eyes in the upper third of the shot. This single habit does more to protect your photo from bad automatic cropping than any editing trick. If your eyes sit in the middle or lower half of the frame, a tighter crop risks cutting off your forehead or losing your face entirely.
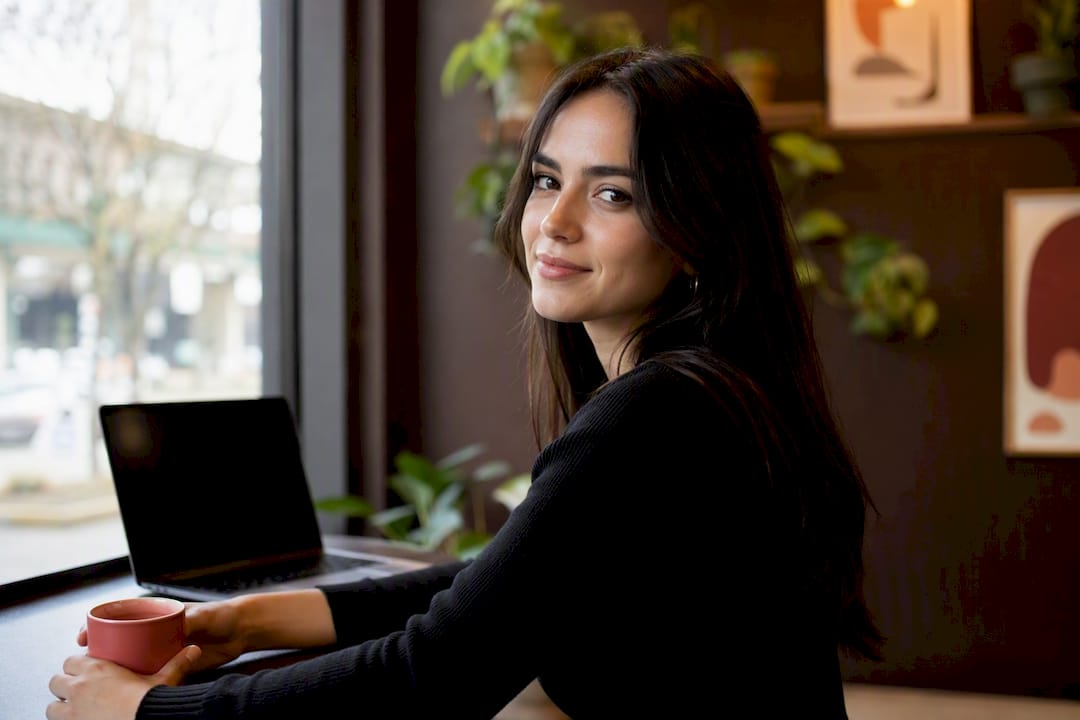
Let your face take up a meaningful chunk of the frame. Dating photography advice consistently points to your face occupying somewhere around 60 to 70% of the shot for a profile-style photo, enough that expression and detail survive at thumbnail size, not so much that it feels like a mugshot. Practical guidance on lighting and framing reinforces the same point: strong composition starts before you ever open an editor.
Keep the frame simple. Avoid hands, phones, sunglasses, or props covering any part of your face. Soft, even light and an uncluttered background do more for perceived quality than any filter.
A quick pose checklist: turn your shoulders slightly rather than facing the camera dead on, aim for a natural rather than forced smile, and mix a tight headshot with at least one full-body shot in your set.
Pro Tip: If you're choosing between a studio-style shot and a natural environment shot for your main photo, the trade-offs are worth understanding before you pick a setting, since backgrounds interact with cropping differently depending on how busy they are.
Pre-upload checklist for Tinder photos
Run through this before you upload anything new to your profile.
- Check resolution and format. Confirm your file is a JPG or PNG, saved in sRGB, at or above your target width (1080 pixels for a strong working file).
- Preview both crops. Look at the square version and the portrait version side by side. Confirm your face position and detail hold up in both.
- Scan for compression artefacts. Zoom in at 100%. Blocky edges or smudged detail mean you need a fresh export at higher quality, not another filter on top.
- Batch-resize the rest of your set. Once your main photo passes, apply the same width and export settings to every other photo you're uploading, so your whole profile looks consistently sharp.
Why let an AI check your crop before you upload it?
Getting the crop right is half the job. Knowing whether the photo itself is strong enough to keep is the other half, and that's harder to judge about your own face than most people expect.
DoubleMyMatches scores your photos against the same factors that actually drive swipes: lighting, expression, and composition, then ranks them best to worst so you know which shot deserves the main slot. That ranking catches issues that a good crop can't fix on its own, a flat expression, harsh lighting, or a background that's quietly working against you.
- Every photo is analysed once and then discarded, nothing is stored or used to train the AI
- You get immediate, per-photo feedback rather than vague general advice
- It works whether you've already nailed your crop or you're still deciding which shot to use
If you want a second opinion on the photo you've just prepared, DoubleMyMatches' analyser gives you an objective read in minutes.
What the fuss over Tinder cropping actually gets wrong
Most advice on this topic treats cropping as a technical afterthought, something you fix after the photo's already been taken. That gets the order backwards. The research consistently points the same direction: the crop problem is usually a framing problem that happened at the moment of capture, not something an editor rescues afterwards.
The conventional fix, "just re-crop it", ignores that a face positioned too low or too small in the original shot has limited room to be saved. You can centre it, but you can't recover detail that was never sharp, and you can't manufacture headroom that doesn't exist.
What we'd prioritise differently: spend more effort at the photo-taking stage on eye position and face proportion, and treat the square-plus-portrait export as quality control, not the main event. The harder, more valuable 80% is composition discipline before you ever open an editor, and an honest read on whether the photo was strong to begin with.