
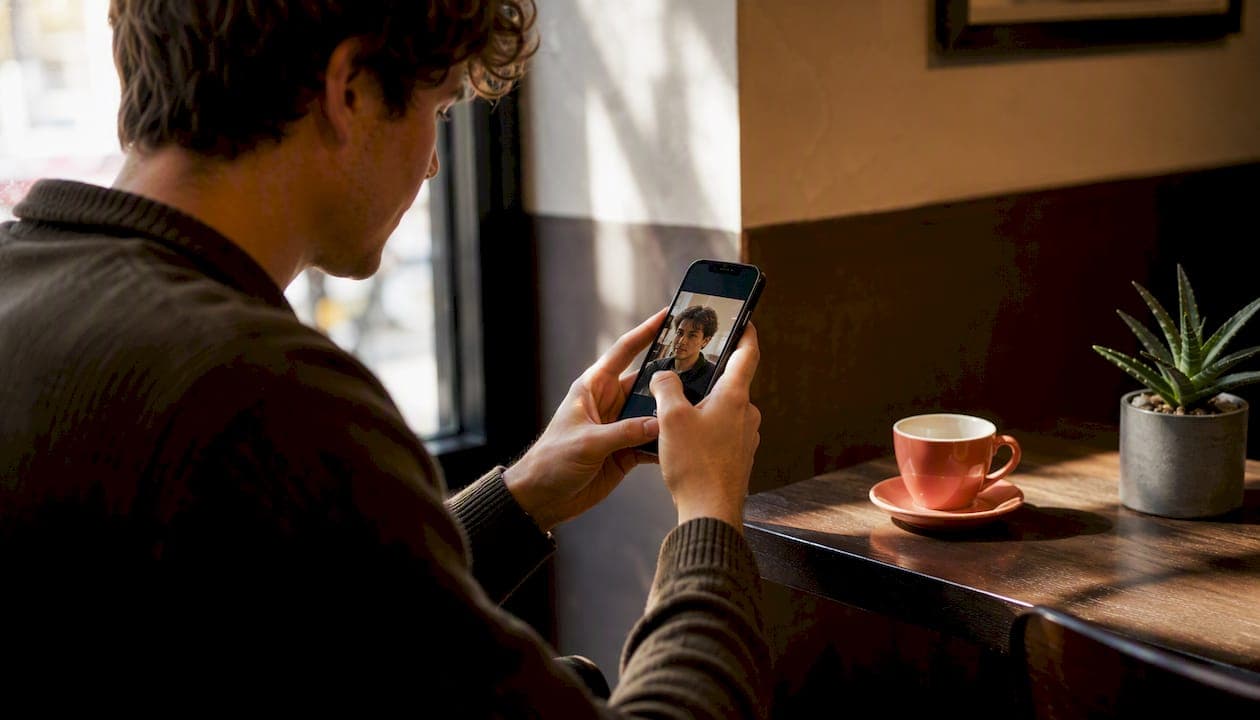
Upload your Hinge photos as an 800×800 square or an 800×1000 portrait (4:5 ratio). Those two sizes cover every spot your picture appears, from the small grid thumbnail to the full-screen tap view, without Hinge cropping out your face, hands, or the friend standing next to you.
Hinge's crop tool and its automatic thumbnail generation both nibble at the edges, so anything close to the border risks getting sliced off before a match ever sees it.
Here's what to actually export:
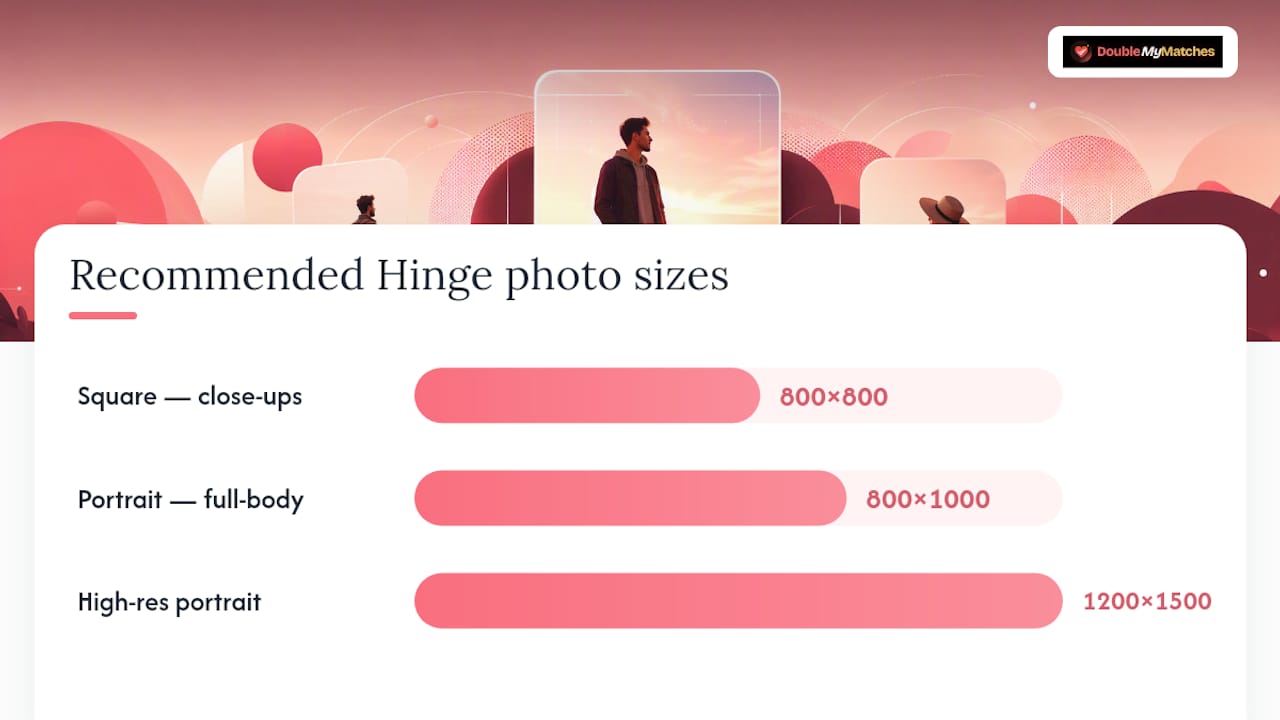
- 800×800 pixels (1:1 square) for a safe, universal upload that displays cleanly everywhere
- 800×1000 pixels (4:5 portrait) if you want more vertical presence in the main feed
- 1200×1500 pixels as a sharper alternative if you're on a newer phone with a high-resolution screen and want extra crispness
Get those two files ready, and everything else in this guide is just detail.
Key Takeaways
| Point | Details |
|---|---|
| Export at the right pixels | Use 800×800 (square) or 800×1000 (4:5 portrait) as your working file size. |
| Leave a safety margin | Keep subjects within the middle 80% of the frame to survive thumbnail cropping. |
| Preview before finalising | Check both grid thumbnail and full-tap view, and verify your Top Photo separately. |
| Mix your shot types | Include a close-up, mid-shot, full-body, activity, and social photo in your lineup. |
| Run an AI check | Tools like DoubleMyMatches score lighting, expression, and composition to flag your strongest photo before upload. |
Table of Contents
- What Hinge shows and the aspect ratios that work best
- Supported formats, file size and image-quality tips
- Step-by-step resizing and cropping for phone and desktop
- How to frame shots so nothing important gets cut off
- How to preview uploads and fix common cropping mistakes
- How an AI photo coach picks the best Hinge photo
- Get a fast, private second opinion on your Hinge photos
- Sources
What Hinge shows and the aspect ratios that work best
Hinge displays your photos in at least three different contexts: the small grid thumbnail on someone's discovery deck, the enlarged view when a match taps your picture, and the profile scroll where portrait images get more screen real estate. Each context crops differently, which is why picking the right aspect ratio upfront matters more than fiddling with filters afterwards.
Square (1:1) and portrait (4:5) are the two formats worth using. Square is the safer default. It survives most cropping without losing anything important, because Hinge tends to crop symmetrically from a square source. Portrait, on the other hand, fills more vertical space in the profile feed, which can make a well-composed full-body shot or an outdoor photo feel more immersive when someone scrolls through your profile.
For working files, Instasize's Hinge photo resizer recommends starting with an 800×800 square canvas, with an 800×1000 portrait variant as the practical 4:5 alternative. Both sizes are small enough to upload quickly but large enough to avoid the blurring you get when a phone tries to stretch a low-resolution image to fit a bigger display.
| Format | Recommended pixels | Aspect ratio | Best use |
|---|---|---|---|
| Square | 800×800 | 1:1 | Safe default for any photo, especially close-ups |
| Portrait | 800×1000 | 4:5 | Full-body shots, outdoor scenes, more feed presence |
| High-res portrait | 1200×1500 | 4:5 | Sharper devices, larger screens |
Here's the thing about thumbnails: Hinge's grid view crops your photo into a small square regardless of what aspect ratio you uploaded, which means anything in the far corners of a portrait image may simply not appear until someone taps through. The Hinge Help Centre confirms you can crop and reposition photos after uploading, so if your thumbnail looks off, you don't need to re-upload. You just need to adjust the crop inside the app.
Your first photo gets extra scrutiny too. Hinge's Top Photo feature treats your leading image differently from the rest of your lineup, which is one more reason to check that specific crop carefully before you finalise your profile.
Supported formats, file size and image-quality tips
Hinge accepts the formats your phone already produces by default: JPEG and PNG both upload without issue, and HEIC files from recent iPhones convert automatically in most cases. WebP images occasionally cause upload hiccups depending on your app version, so if a photo won't upload and you're not sure why, converting it to JPEG first is a quick fix.
File size matters less than most people assume, but there's still a sensible range to aim for.
- Keep photos between 200KB and 2MB — large enough to preserve detail, small enough to upload fast on mobile data
- Export at 72 to 150 DPI; anything higher just bloats the file without visible benefit on a phone screen
- Use the sRGB colour profile, which is what most phone cameras default to and what Hinge's display renders correctly
- Avoid re-saving the same JPEG repeatedly, since each save introduces fresh compression artefacts that blur fine detail like skin texture and eyes
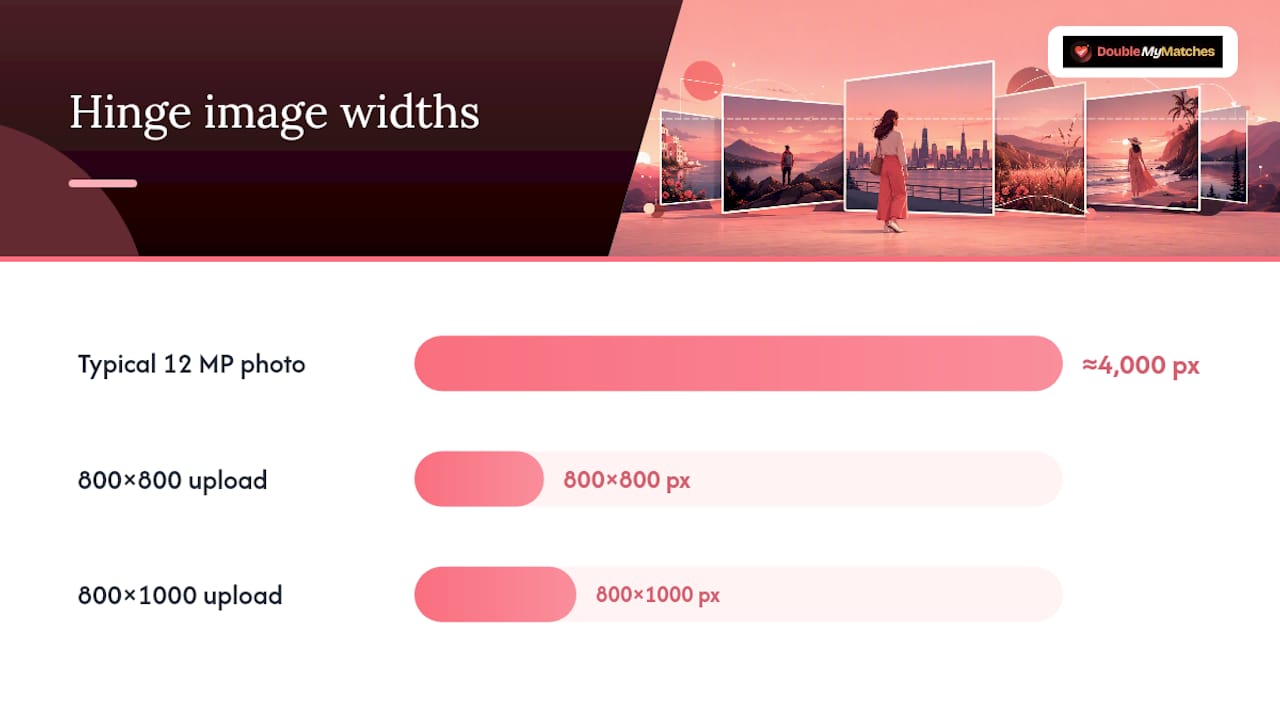
If your original photo comes straight off a modern smartphone camera, it's almost certainly oversized for what you need. A 12-megapixel photo can run 4,000 pixels wide, which is far more than any Hinge display context requires. Resizing down to the 800×800 or 800×1000 range before uploading actually improves load speed and sharpness on the app's end, because you're giving Hinge a file that matches its display size instead of forcing it to shrink a much larger image on the fly.
Step-by-step resizing and cropping for phone and desktop
You don't need design software to get this right. Both your phone's native editor and a couple of free web tools will do the job in under a minute per photo.
On your phone (iOS or Android):
- Open the photo in your native Photos app and tap the crop tool.
- Select the square or 4:5 aspect ratio option from the built-in ratio presets.
- Drag the crop box so your face, shoulders, or full body sit comfortably inside the frame, with a small margin on every edge.
- Save a copy, then check the resulting pixel dimensions in your file details app or by exporting through a resizer if your phone doesn't show this natively.
- Upload the cropped version directly to Hinge.
On desktop (using a free photo editor, Canva, or Instasize):
- Open your source image and set the canvas to 800×800 for square or 800×1000 for portrait.
- Reposition the image within the canvas so the subject's eyes sit roughly in the upper third of the frame.
- Export as JPEG at 80 to 90% quality, which keeps file size low without visible compression loss.
- Rename the file clearly (e.g. "hinge_photo1_square") so you don't confuse versions later.
- Upload to Hinge and preview immediately in both grid and full-tap view.
Canva and Instasize both offer preset Hinge-specific export sizes, which saves you from manually typing pixel values every time. Instasize in particular is built around exactly this square-to-portrait workflow.
Pro Tip: Always keep an uncropped master copy of every photo saved separately. Hinge's aspect ratios might change, or you might want a tighter or wider crop later, and re-cropping from a full-resolution original beats trying to enlarge an already-cropped 800×800 file.
How to frame shots so nothing important gets cut off
Composition decides whether a crop looks intentional or accidental, and Hinge's cropping behaviour makes some framing choices far safer than others.
- Leave headroom above your head rather than centring your face dead in the middle of the frame, since square crops tend to trim from the top first.
- Keep your shoulders within the frame rather than tight against the edges. Hinge's thumbnail crop sometimes shaves a sliver off each side.
- For full-body shots, leave margin below your feet and above your head. A photo where your feet touch the bottom edge risks losing them entirely in a square crop.
- Avoid standing dead centre in group shots. If someone else gets cropped out of frame, it looks like you're hiding them rather than simply cropping tight.
Your lineup should mix shot types rather than repeat the same angle six times. A close-up shows your face clearly, which matters most for the grid thumbnail. A mid-shot from the waist up gives a sense of your build and style. A full-body photo answers the question every match is silently asking. An activity shot (hiking, cooking, playing an instrument) gives conversation starters. A social shot with friends signals you have a life outside the app, as long as you're clearly the focal point.
Pro Tip: Uncluttered backgrounds do more for photo quality than better lighting equipment ever will. A plain wall or open sky reads as clean and confident; a messy kitchen counter behind you competes for attention with your actual face.
How to preview uploads and fix common cropping mistakes
Before you finalise your profile, check every photo the way a match will actually see it, not just how it looks in your camera roll.
- Tap through to full view on each photo inside the app, not just the grid thumbnail.
- Check the small grid thumbnail separately. It crops tighter than the full-tap view and is the first thing anyone sees.
- Ask a friend to scroll your profile on their own phone. Screen sizes vary, and what looks fine on your device can crop differently on theirs.
Three mistakes come up again and again, and all three take under two minutes to fix.
Group shots with someone cropped out. Reframe using the desktop workflow above, positioning yourself slightly off-centre so the crop doesn't need to slice through another person to isolate you.
Extreme wide-angle distortion, usually from a selfie taken too close. Step back, use the main camera lens instead of the ultra-wide, and retake rather than trying to crop your way out of a distorted shot.
How an AI photo coach picks the best Hinge photo
An AI photo coach doesn't rely on gut feeling. It scores photos against a consistent set of visible signals, which is worth understanding even if you never run one.
- Lighting: even, natural light beats harsh shadows or backlit silhouettes almost every time.
- Face visibility: sunglasses, hats casting shadows, or extreme angles reduce how much useful information a viewer gets from your top photo.
- Expression: a natural, relaxed smile consistently reads better than a posed or stiff one.
- Composition balance: how well the subject sits within the frame, tying directly back to the headroom and margin rules covered earlier.
- Background clarity: clutter or visual noise behind you pulls attention away from your face.
- Clothing contrast: outfits that stand out against the background tend to make the subject easier to focus on at a glance.
These criteria matter because they line up almost exactly with how Hinge's cropping behaves. A photo with good headroom and centred composition survives a tight thumbnail crop intact; one with the subject jammed against the frame edge doesn't. DoubleMyMatches' photo analyser runs a quick automated check against these same factors, flagging which of your photos are strongest and which crops might cause problems before you upload, giving you a second opinion beyond your own judgement.
Three quick rules we follow when prepping Hinge photos
Three habits make the difference between a profile that looks accidental and one that looks deliberate. Keep an uncropped master file of every photo, always test the crop inside the app before treating a photo as finished, and prioritise face clarity over any other single factor, since it's the first thing a potential match actually processes.
Do: check both grid and full-tap view, verify your Top Photo separately, and confirm nobody's cropped out of a group shot.
Don't: upload straight from your camera roll without checking margins, and don't assume a photo that looks fine on your phone will look the same on someone else's screen.
One last thing worth saying plainly: whether you're testing crops manually or running a photo through an automated tool, nothing about this process should require handing over more than the images themselves.
Get a fast, private second opinion on your Hinge photos
Sizing and cropping only gets you halfway. The harder question, the one most people can't answer objectively about their own face, is which photo actually deserves to lead your profile. That's where an automated second opinion earns its keep: DoubleMyMatches scores every photo you upload against the same objective factors covered above, lighting, expression, composition, background, and ranks them from strongest to weakest so you're not guessing which shot to lead with.
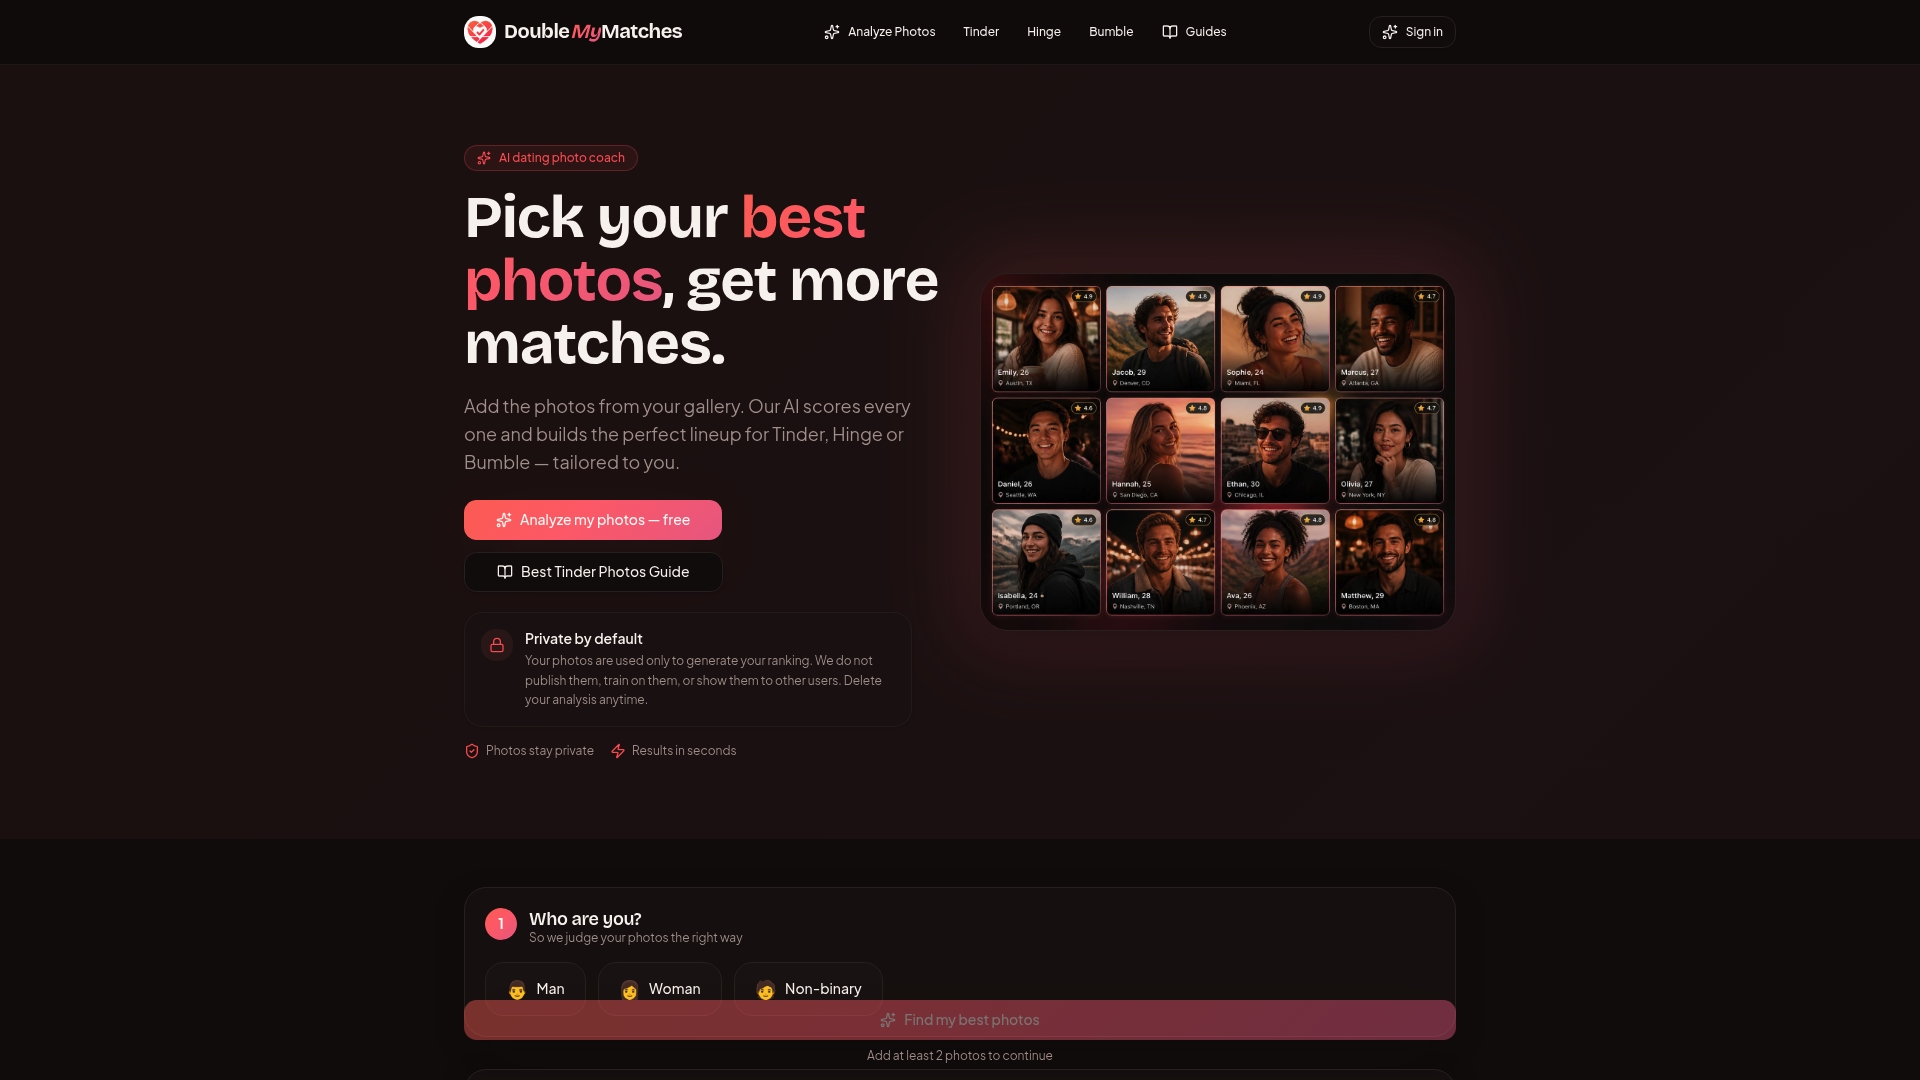
Your photos are analysed once and then discarded. Nothing gets published, stored, or used to train the AI, so testing a batch of shots costs you nothing beyond a few minutes. Worth being upfront: this isn't magic, it won't turn a poorly lit photo into a great one, but it will tell you exactly which of your existing photos is holding your profile back and which crop suggestions actually matter.
Run your current lineup through the Dating Photo Analyzer before your next round of edits, and see the per-photo feedback for yourself.
Sources
A handful of pages are worth keeping open while you prepare your photos, whether you're resizing for the first time or troubleshooting an odd crop.