

Dating photo selection step by step is a systematic process of choosing, ordering, and refining your profile pictures to attract more matches on platforms like Tinder, Hinge, and Bumble. Most singles treat photo choice as guesswork, yet the photos you pick and the order you place them in directly determine how many right-swipes you receive. The difference between a strong profile and a weak one is rarely looking. It is almost always photo quality, variety, and sequencing. This guide walks you through every stage, from gathering raw shots to finalising your lineup with confidence.
What tools and preparation do you need before selecting dating photos?
Strong photo selection starts before you open your camera roll. You need the right raw material to work with, and that means understanding what types of shots to gather first.
The six photo types every profile needs are:
- Face shot: Clear, well-lit, and close enough to show your eyes and expression.
- Full body shot: Shows your proportions honestly and builds trust.
- Activity photo: You're doing something you genuinely enjoy, such as hiking, cooking, or playing guitar.
- Pet photo: Consistently high-performing for warmth and approachability.
- Group photo: One social shot that shows you have friends and a life outside dating apps.
- Date preview shot: A photo that hints at what a date with you might look like, such as you at a café or a rooftop bar.
Beyond photo types, lighting is the single biggest quality factor. Large window light or open shade produces soft, flattering results that prevent harsh shadows across your face. Avoid direct midday sun or indoor ceiling lights, both of which create unflattering shadows under the eyes.
Wardrobe matters more than most people realise. Solid colours and simple patterns photograph far better at the small thumbnail sizes dating apps use. A busy checked shirt or a loud print competes with your face for attention. Stick to muted or bold single colours and let your expression do the work.
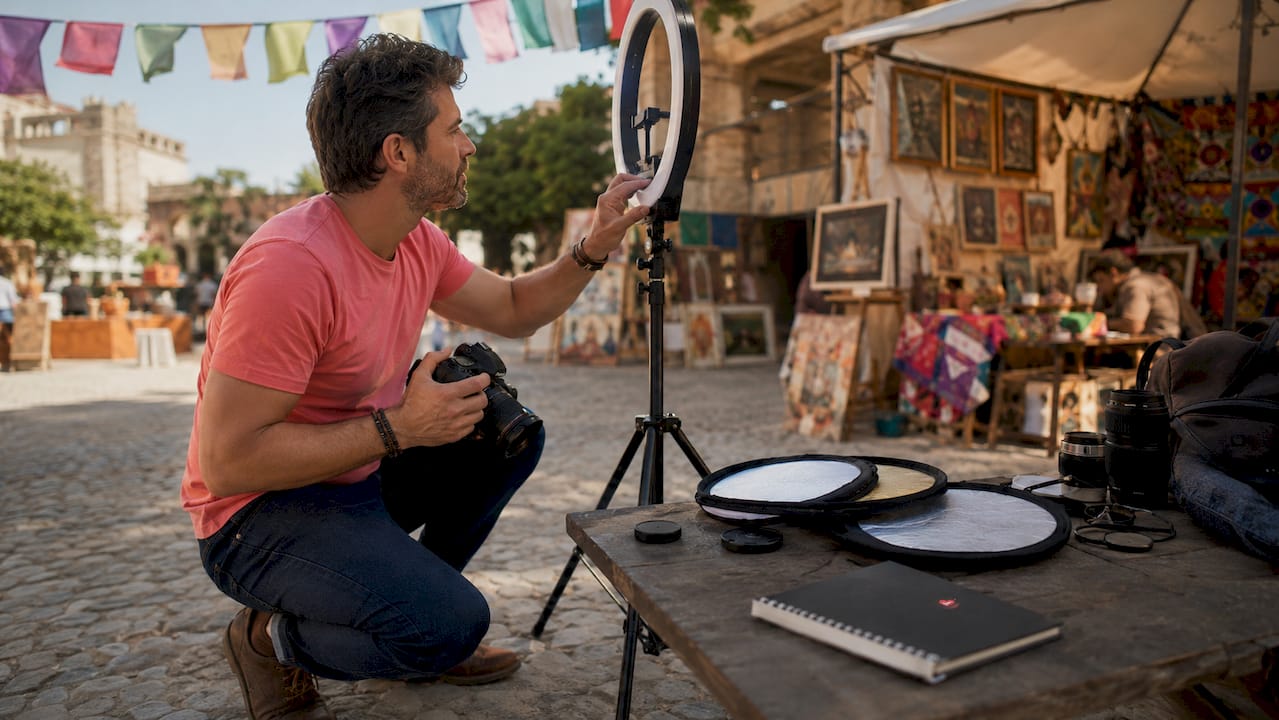
Pro Tip: Gather at least 20 to 30 candidate photos across different settings, outfits, and lighting conditions before you start selecting. The more raw material you have, the stronger your final six will be.
Finally, consider using an AI photo analysis tool during this stage. AI feedback provides instant, unbiased photo ratings based on factors like lighting, expression, and composition. That removes the guesswork from an otherwise subjective process.
How do you evaluate and choose the best profile photo?
Your lead photo is the most important decision you will make for your profile. The first photo slot receives ten times more attention than the last photo. That single fact should shape every choice you make here.
Evaluate your candidate face shots against this checklist:
- Sharpness: Is your face in clear focus? Blurry shots signal a low-effort profile.
- Lighting: Is light falling evenly across your face, with no harsh shadows?
- Eye contact: Are you looking directly at the camera? Direct eye contact builds instant connection.
- Expression: Do you look genuinely happy, or is the smile forced? A genuine, eye-reaching smile consistently outperforms a stiff grin or a blank expression.
- Camera distance and lens: Was the photo taken from at least one metre away using a telephoto zoom? Wide-angle lenses at arm's length distort facial features, enlarging the nose and narrowing the jaw. Use the 2x or 3x zoom on your phone instead.
- No obstructions: Sunglasses, hats, and heavy filters all reduce the connection a viewer feels. Remove them from your lead photo.
- Background: Is the background clean and uncluttered? A simple outdoor setting or a plain wall keeps the focus on you.
Work through this checklist for every candidate shot. Score each one out of seven. The photo with the highest score becomes your lead.
Pro Tip: Ask two or three friends to pick their favourite shot from your shortlist without telling them which one you prefer. Outside opinions cut through the bias you have towards photos where you remember feeling confident.
Using a profile picture tester at this stage adds an objective layer. AI scoring removes the emotional attachment you have to certain photos and surfaces the ones that will actually perform.
Which supporting photos should complement your main profile picture?
Once your lead photo is locked in, the remaining slots build the full picture of who you are. This is where most profiles either win or lose the match.
Adding a second photo increases likes by 51%, and adding up to seven photos provides a further 32% increase before returns diminish. That data tells you two things. First, more photos genuinely matter. Second, there is a ceiling, so quality beats quantity beyond seven shots.
The six essential photo types follow a proven impact order: face shot first, full body second, activity third, pet fourth, group photo fifth, and date preview sixth. Each type serves a specific purpose in building trust and attraction.
A few principles to follow when selecting your supporting shots:
- Show variety. A set of photos with varied angles, expressions, and settings outperforms a set of similar close-up shots. If three of your photos look like they were taken on the same day in the same outfit, swap one out.
- Keep group photos to one. More than one group shot creates confusion about which person you are.
- Activity photos should be genuine. A photo of you actually rock climbing beats a posed shot at a climbing wall. Authenticity reads clearly.
- Avoid mirror selfies as supporting shots. They signal low effort and tend to have poor lighting.
Think of your photo lineup as a short story. The lead photo is the cover. Each subsequent photo adds a chapter about your personality, your lifestyle, and what spending time with you might feel like.
What is the step-by-step process to organise and finalise your photo selection?
With your candidates evaluated and your photo types identified, the final stage is sequencing and uploading with intention.
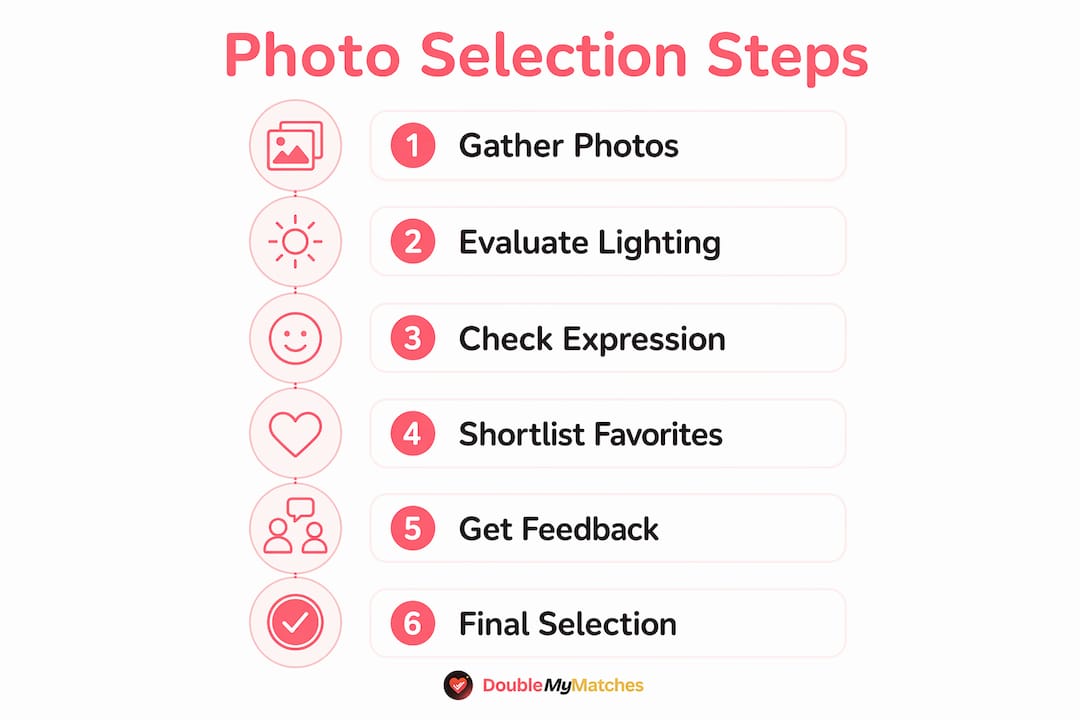
- Shortlist your top ten. From your full pool of candidate photos, remove any that fail the quality checklist. Keep the ten strongest.
- Assign each photo a type. Label each shortlisted photo as face, full body, activity, pet, group, or date preview. If you have gaps, you know which shots to take before uploading.
- Score with AI. Run your shortlist through a dating photo analyser to get objective scores on lighting, expression, and composition. Let the scores inform your final six.
- Sequence deliberately. Place your highest-scoring face shot first. Follow with full body, then activity. Save the group photo for slot five or six, never slot one or two.
- Upload and test. Go live with your chosen lineup for one to two weeks. Track your match rate. If it drops or stalls, swap out the weakest photo and test again.
- Avoid common pitfalls. Do not use photos older than two years. Do not use heavy filters that alter your appearance. Do not include photos where an ex has been cropped out. Viewers notice the arm around your shoulder.
Pro Tip: Treat your photo lineup as a living document, not a one-time decision. Refreshing one or two photos every few months keeps your profile feeling current and can lift match rates noticeably.
The most common selection mistake is keeping a photo because you like how you look in it, rather than because it performs. Checking your Hinge profile mistakes against a clear framework helps you separate personal preference from what actually attracts matches.
Key takeaways
Strong dating photo selection combines data-backed sequencing, genuine expression, and varied contexts to produce a profile that consistently attracts more matches.
| Point | Details |
|---|---|
| Lead photo is critical | The first slot receives ten times more attention than the last, so place your strongest face shot there. |
| Photo count drives likes | Adding up to seven photos increases likes significantly, with the biggest jump coming from adding a second photo. |
| Lighting and lens matter | Use soft natural light and telephoto zoom to avoid distortion and unflattering shadows. |
| Variety beats repetition | A mix of face, full body, activity, and social shots builds a more compelling profile than similar close-ups. |
| AI scoring removes bias | Objective AI ratings help you select photos based on performance factors, not personal attachment. |
What we have learned from watching thousands of profiles
The most persistent myth in online dating is that you need professional photos to compete. You do not. Candid shots with genuine expressions consistently outperform posed studio images, because authenticity is what viewers are actually responding to. A photo where you are laughing at something real will outperform a polished headshot almost every time.
The second thing we have noticed is how much expression outweighs everything else. Singles spend hours worrying about backgrounds, outfits, and locations, yet the face is what the viewer's eye goes to first and stays on longest. A slightly imperfect background with a warm, genuine smile beats a perfect backdrop with a flat expression.
AI tools have changed how we approach selection, and not just because they are fast. They surface patterns that human reviewers miss, such as subtle lighting asymmetry or a slightly unfocused eye. The balance we recommend is this: use AI to score and rank, then apply your own judgement to check that the top-scoring photos also feel like you. Neither alone is as reliable as both together.
The singles who see the biggest improvement are not the ones who book expensive photographers. They are the ones who take 30 varied shots in good natural light, run them through an objective scoring tool, and sequence the results with intention. That process is repeatable, affordable, and it works.
— The Team @ DoubleMyMatches
How DoubleMyMatches makes photo selection faster and more accurate
Choosing your best photos without outside feedback is genuinely hard. You are too close to the images to see them clearly, and friends tend to be kind rather than honest.
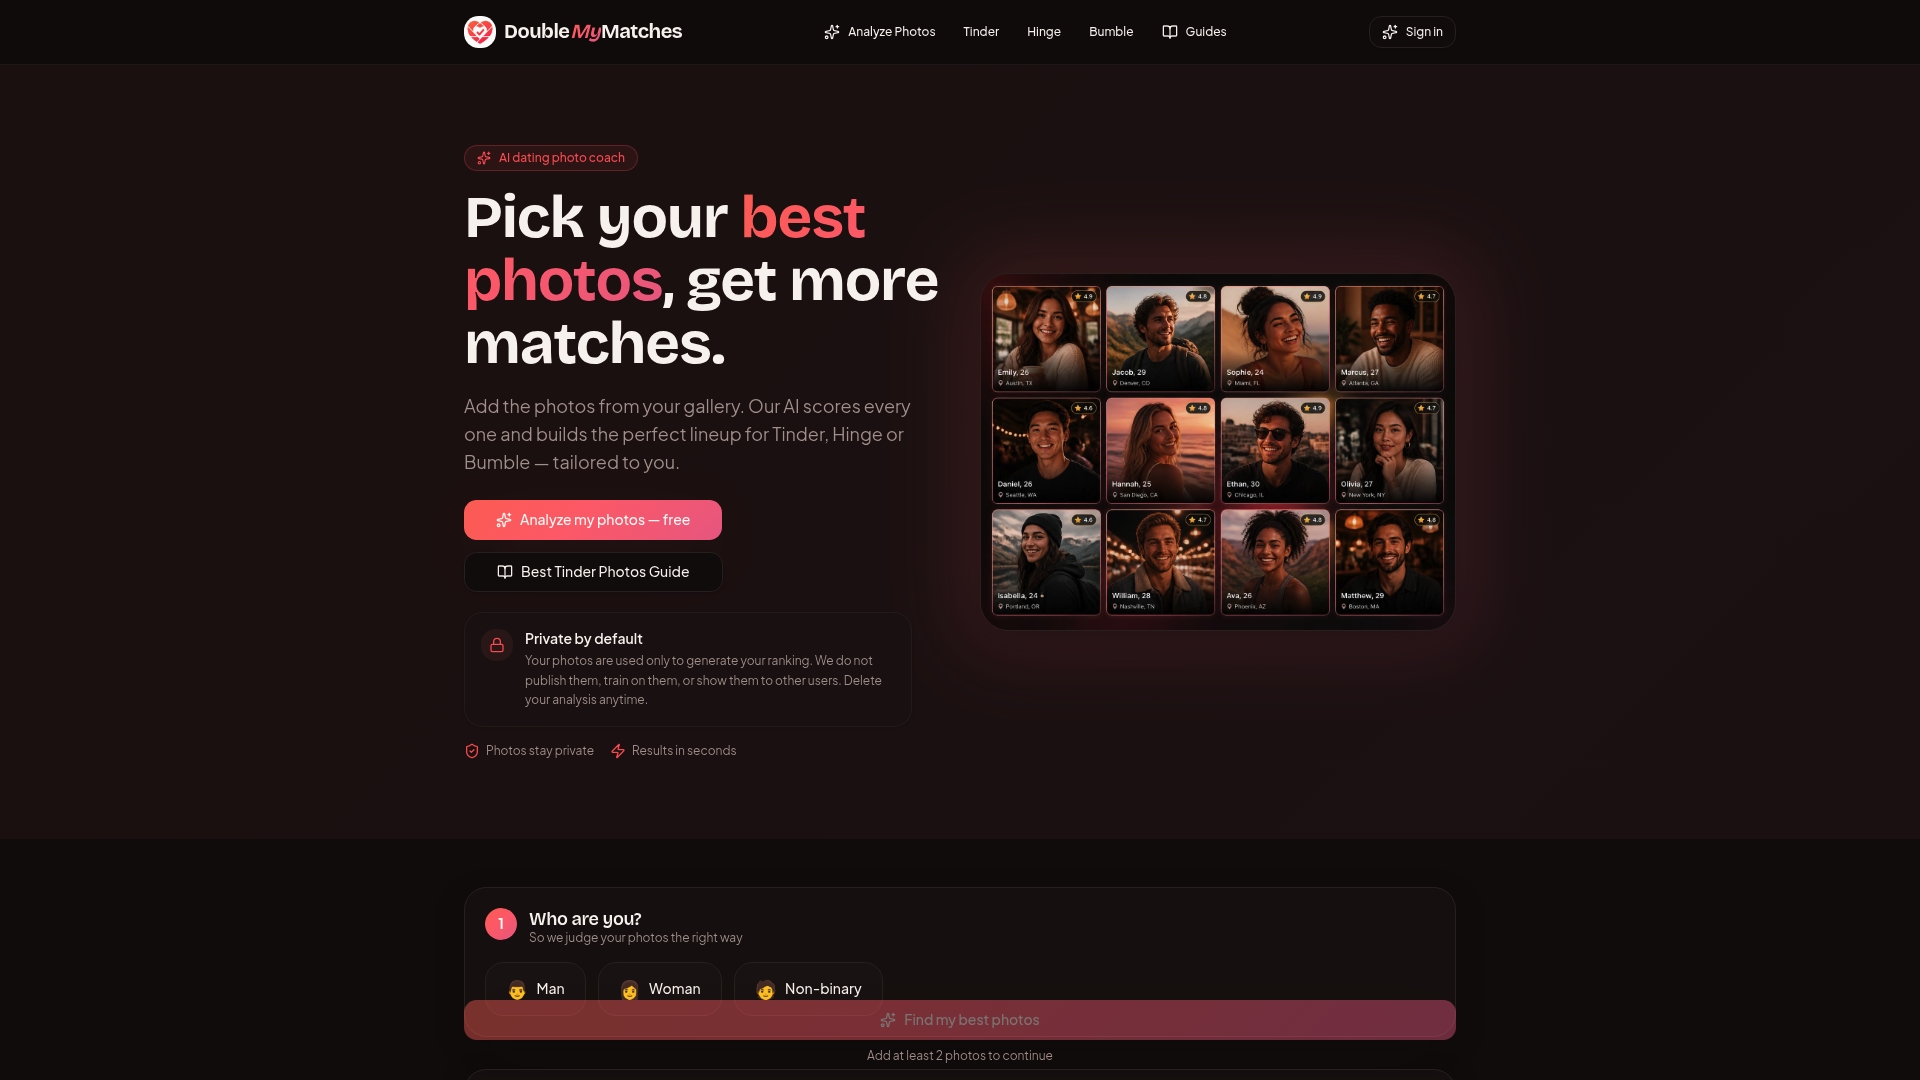
DoubleMyMatches uses AI to score your dating photos instantly across lighting, expression, composition, and overall appeal. You upload your candidates, and the platform ranks them in seconds, showing you exactly which shots to lead with and which to drop. There is no human reviewer, no waiting, and no bias. Your photos are analysed and then discarded. They are never stored or used to train the AI. If you want honest, instant photo feedback without the awkwardness of asking friends, this is the most direct route to a stronger profile.
FAQ
How many photos should I put on my dating profile?
Adding up to seven photos produces the strongest results, with the biggest lift coming from adding a second photo. Beyond seven, the benefit diminishes.
Does the order of my photos actually matter?
Yes. The first photo receives ten times more attention than the last, so your strongest face shot must always go first.
Should I use professional photos for my dating profile?
Professional photos are not necessary. Candid shots with genuine expressions consistently outperform posed images, because authenticity is what viewers respond to most.
What is the biggest mistake people make when choosing dating photos?
Keeping photos they personally like rather than photos that perform. Using an AI photo rater removes that bias and surfaces the shots most likely to attract matches.
How do I avoid unflattering distortion in my photos?
Use the 2x or 3x telephoto zoom on your phone and shoot from at least one metre away. Wide-angle lenses at close range distort facial proportions noticeably.